 I am a firm believer in breakfast. Not only is it crucial to the rest of your day, but it is so delicious! I could honestly eat breakfast foods for every meal of the day.
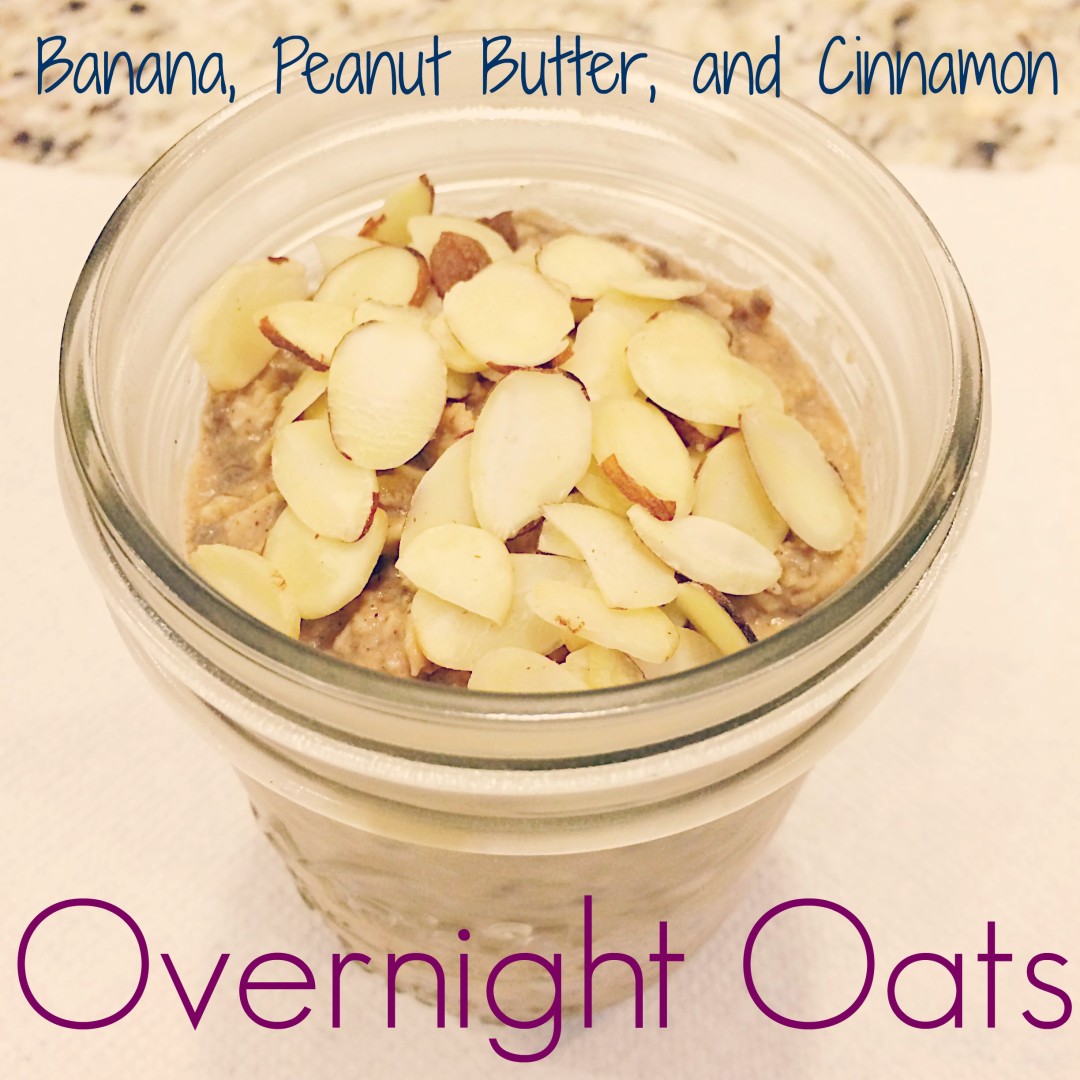
A huge breakfast trend on Pinterest and blogs lately has been overnight oats, so I decided to give it a try. I found a great recipe to use as a guide from Domesticate Me here and tweaked it a bit to fit what I wanted. This recipe includes oats, chia seeds, peanut butter, banana, almonds, honey, cinnamon, almond milk, and vanilla.
Overnight oats are an incredibly simple, fast, and healthy way to eat breakfast. They can be eaten on-the-go or as a delicious morning treat. I love how versatile they are as well – there’s a million different variations!
This recipe seriously turned out amazing and I can’t wait to try variations on it. I was incredibly full after eating one serving – I ate at 7 a.m. and did not feel hungry again until around noon!
Ingredients (serves 2):
1 ripe banana
1/4 cup creamy peanut butter
1 cup rolled oats
1 cup almond milk (unsweetened or vanilla – I used vanilla!)
1 tablespoon chia seeds
1/2 teaspoon vanilla extract
1/2 teaspoon cinnamon
1 teaspoon honey (or light agave)
1/4 cup sliced almonds (optional)
Instructions:
Slice banana and place slices in a medium sized bowl. Mash up banana with a fork. Pour the remaining ingredients in the bowl. Stir mixture until all ingredients are thoroughly incorporated. This may require some extra effort as the peanut butter and bananas are harder to mix in. When mixed completely, pour into glass mason jar or air-tight container. Place in refrigerator overnight. Enjoy bright and early in the morning! I loved putting some sliced almonds on the top for an added crunch – so good!
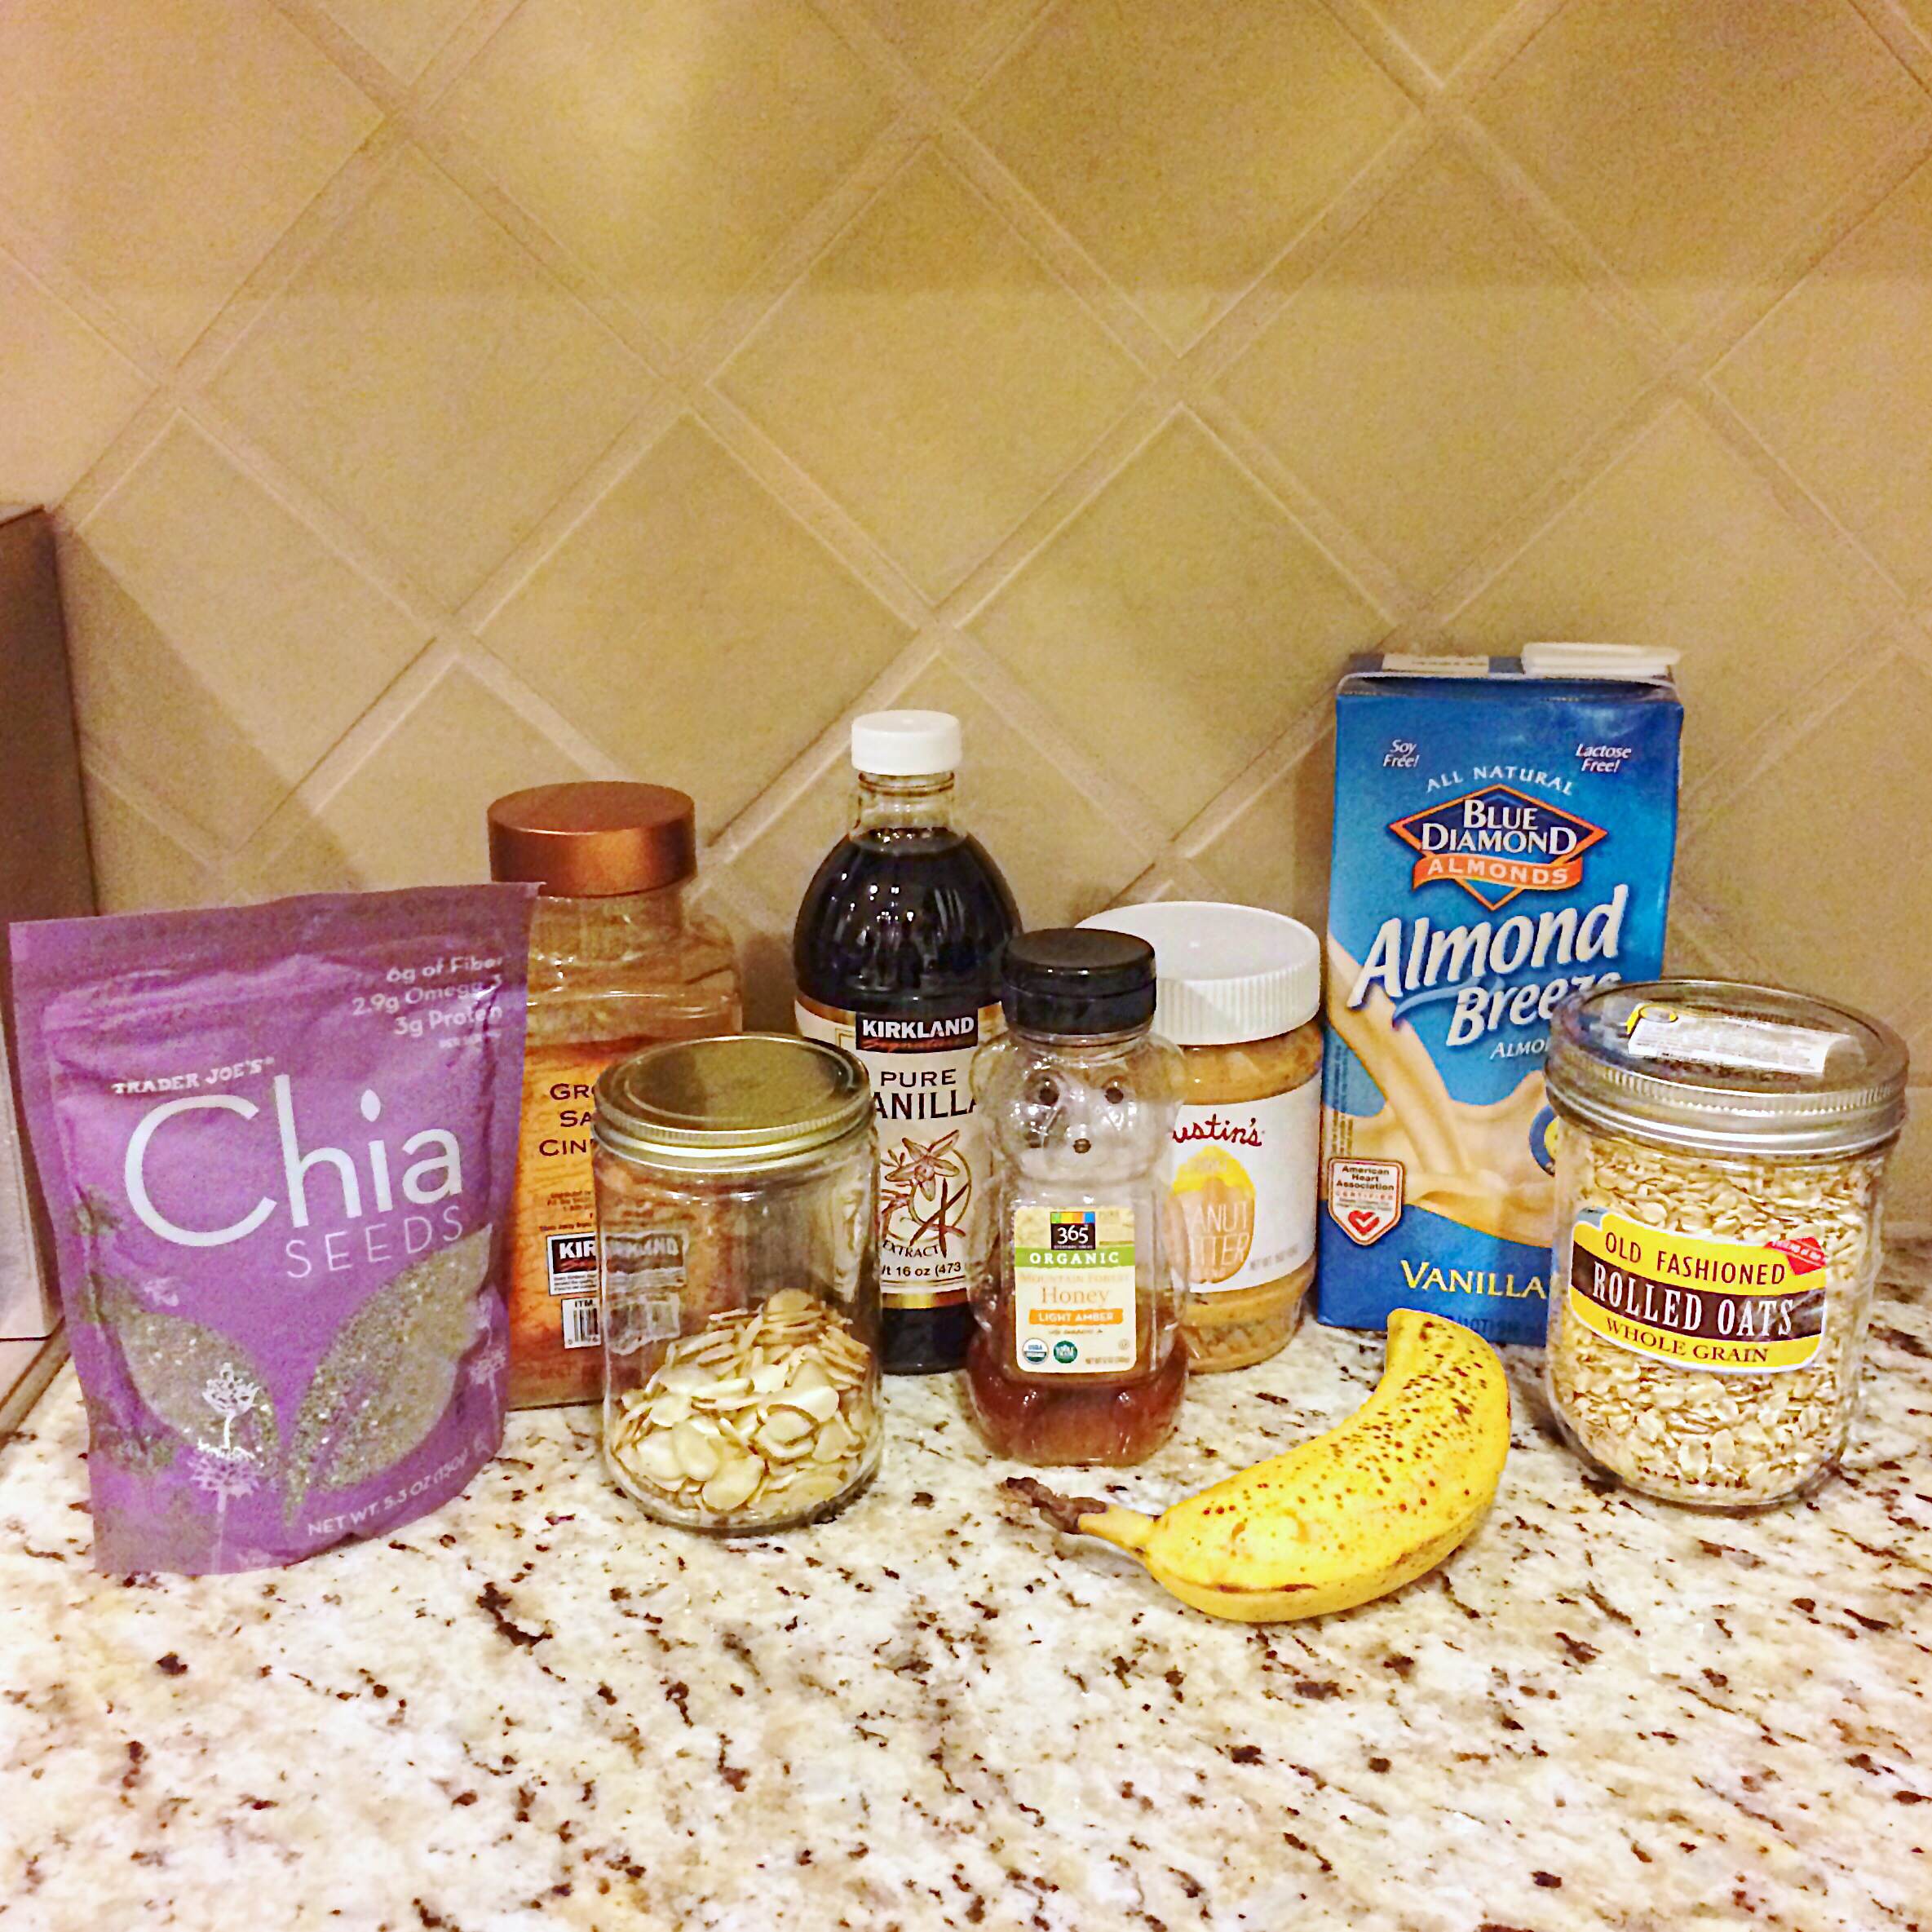
Ingredients: chia seeds, almonds, cinnamon, vanilla, honey, peanut butter, banana, almond milk, and oats
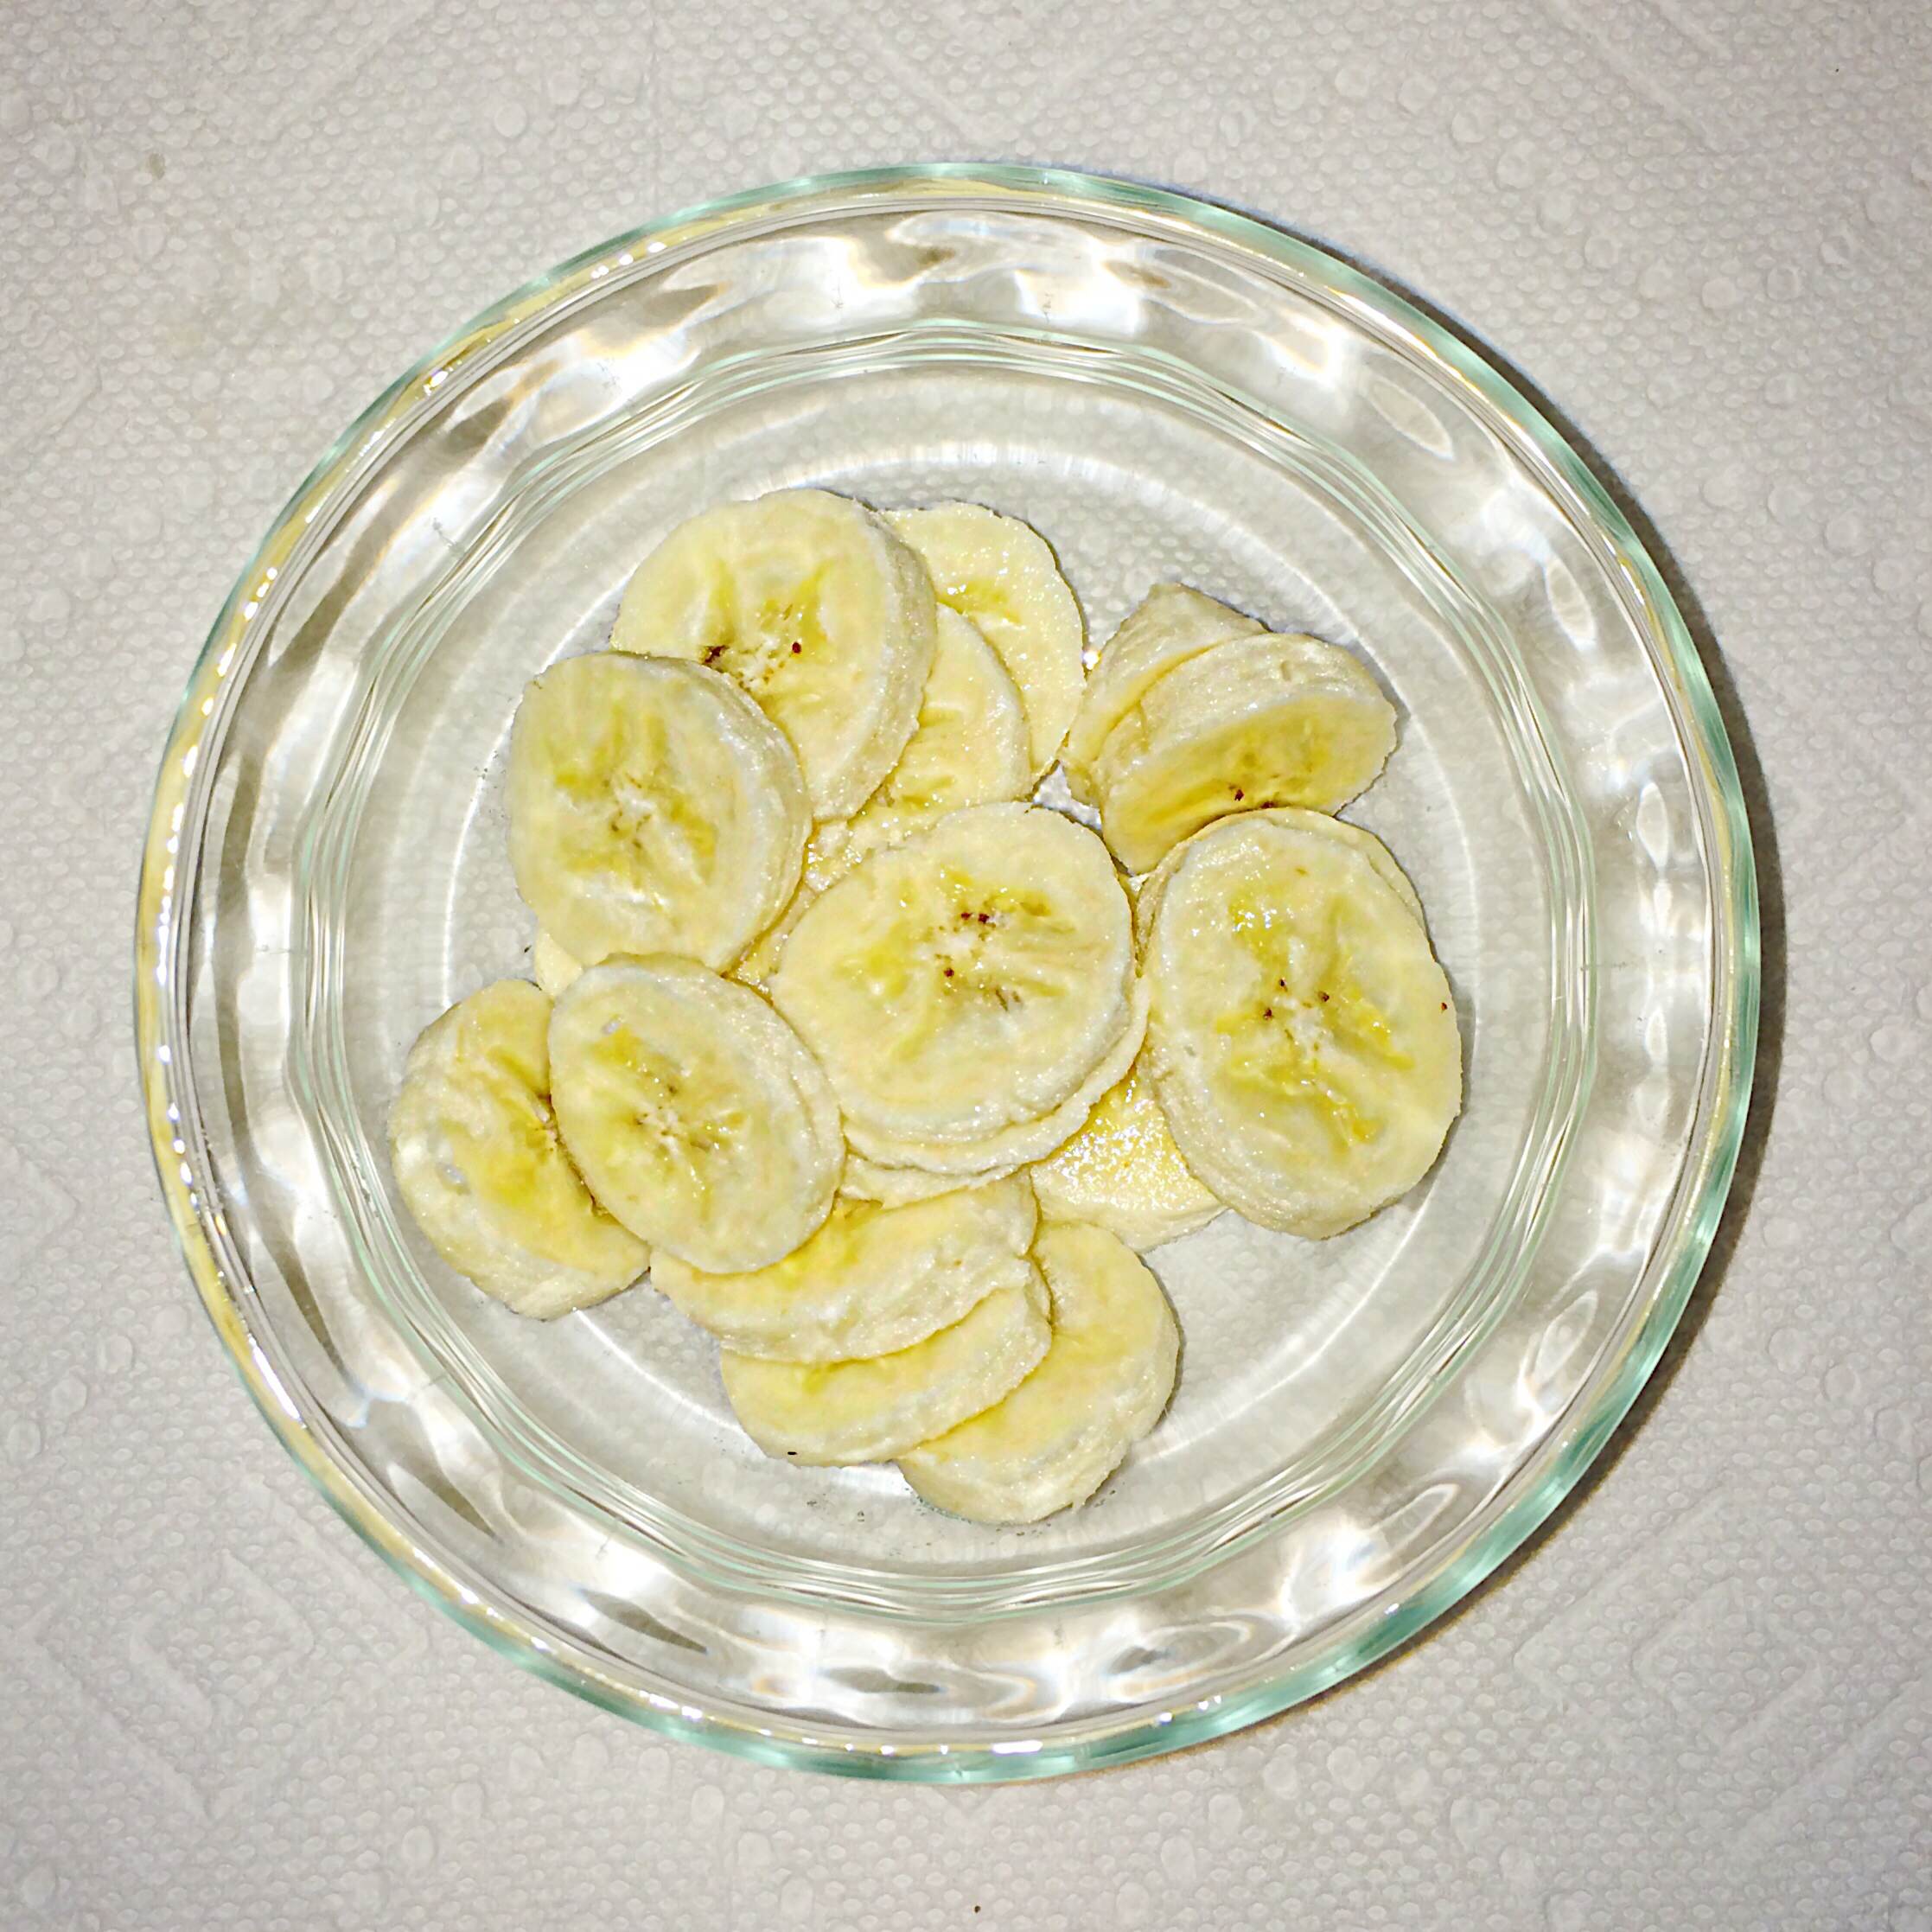
Put sliced bananas in a bowl

Mush banana in bowl with fork
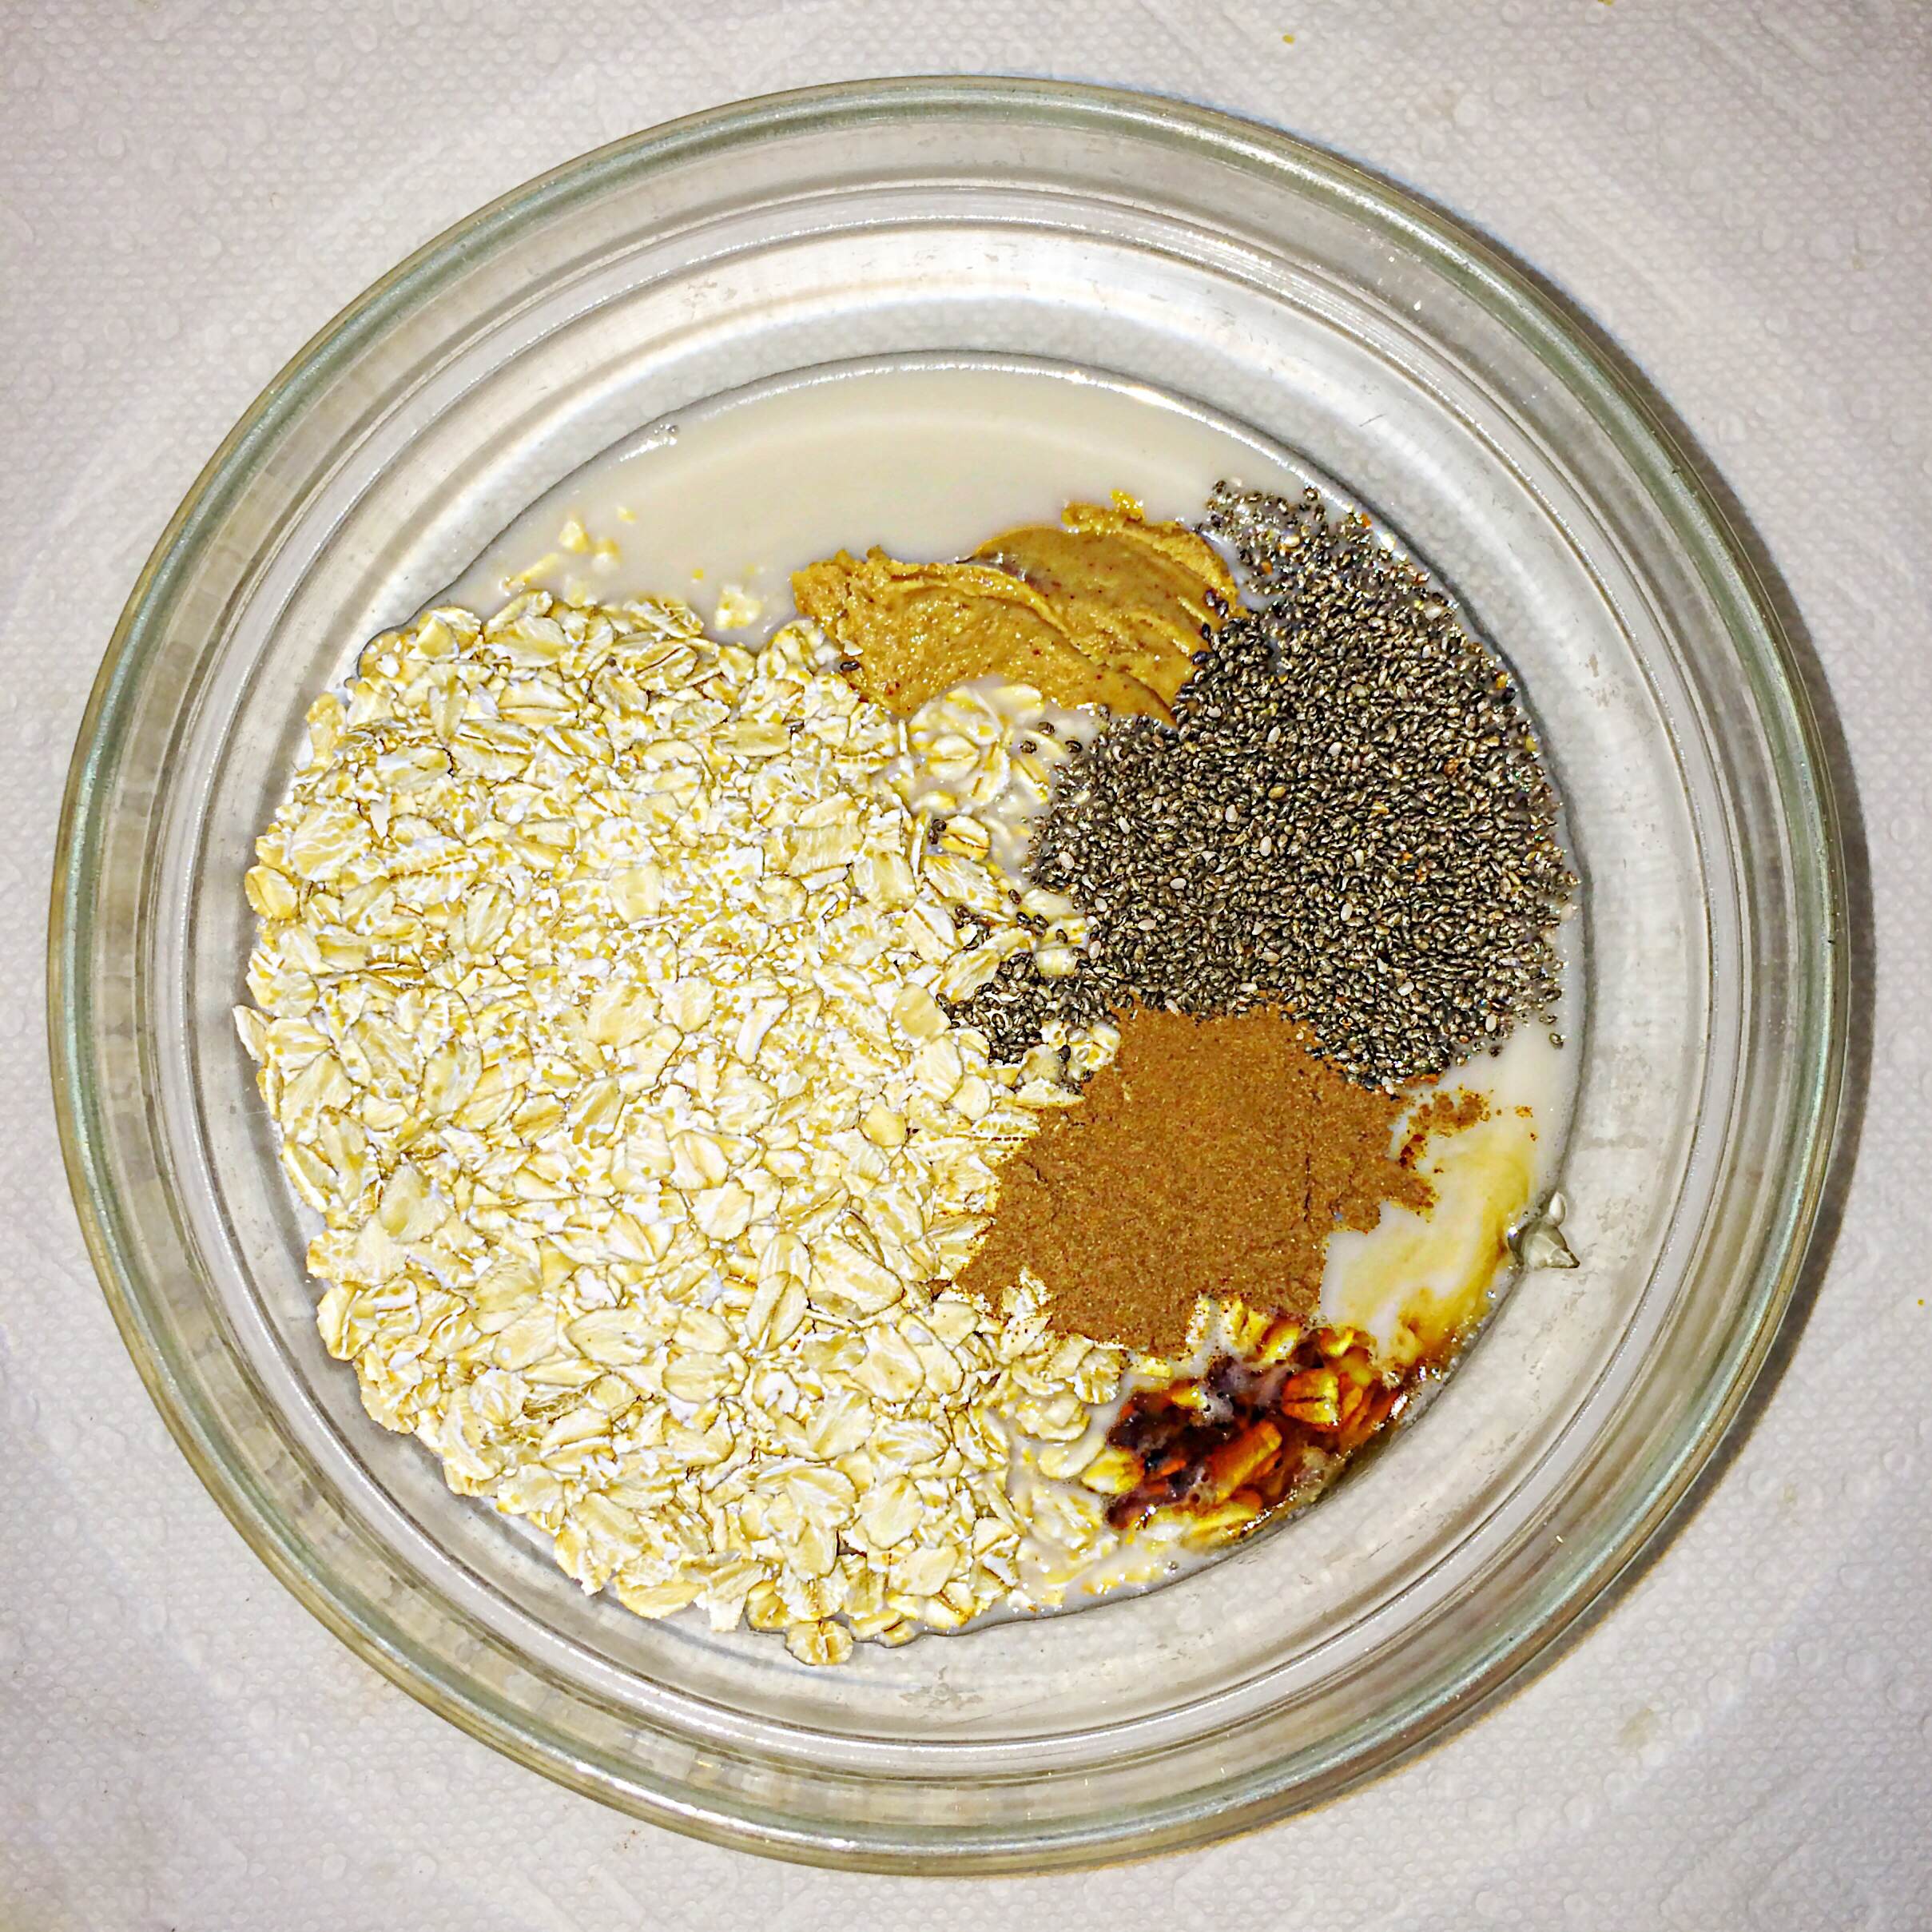
Combine all ingredients with mushed bananas
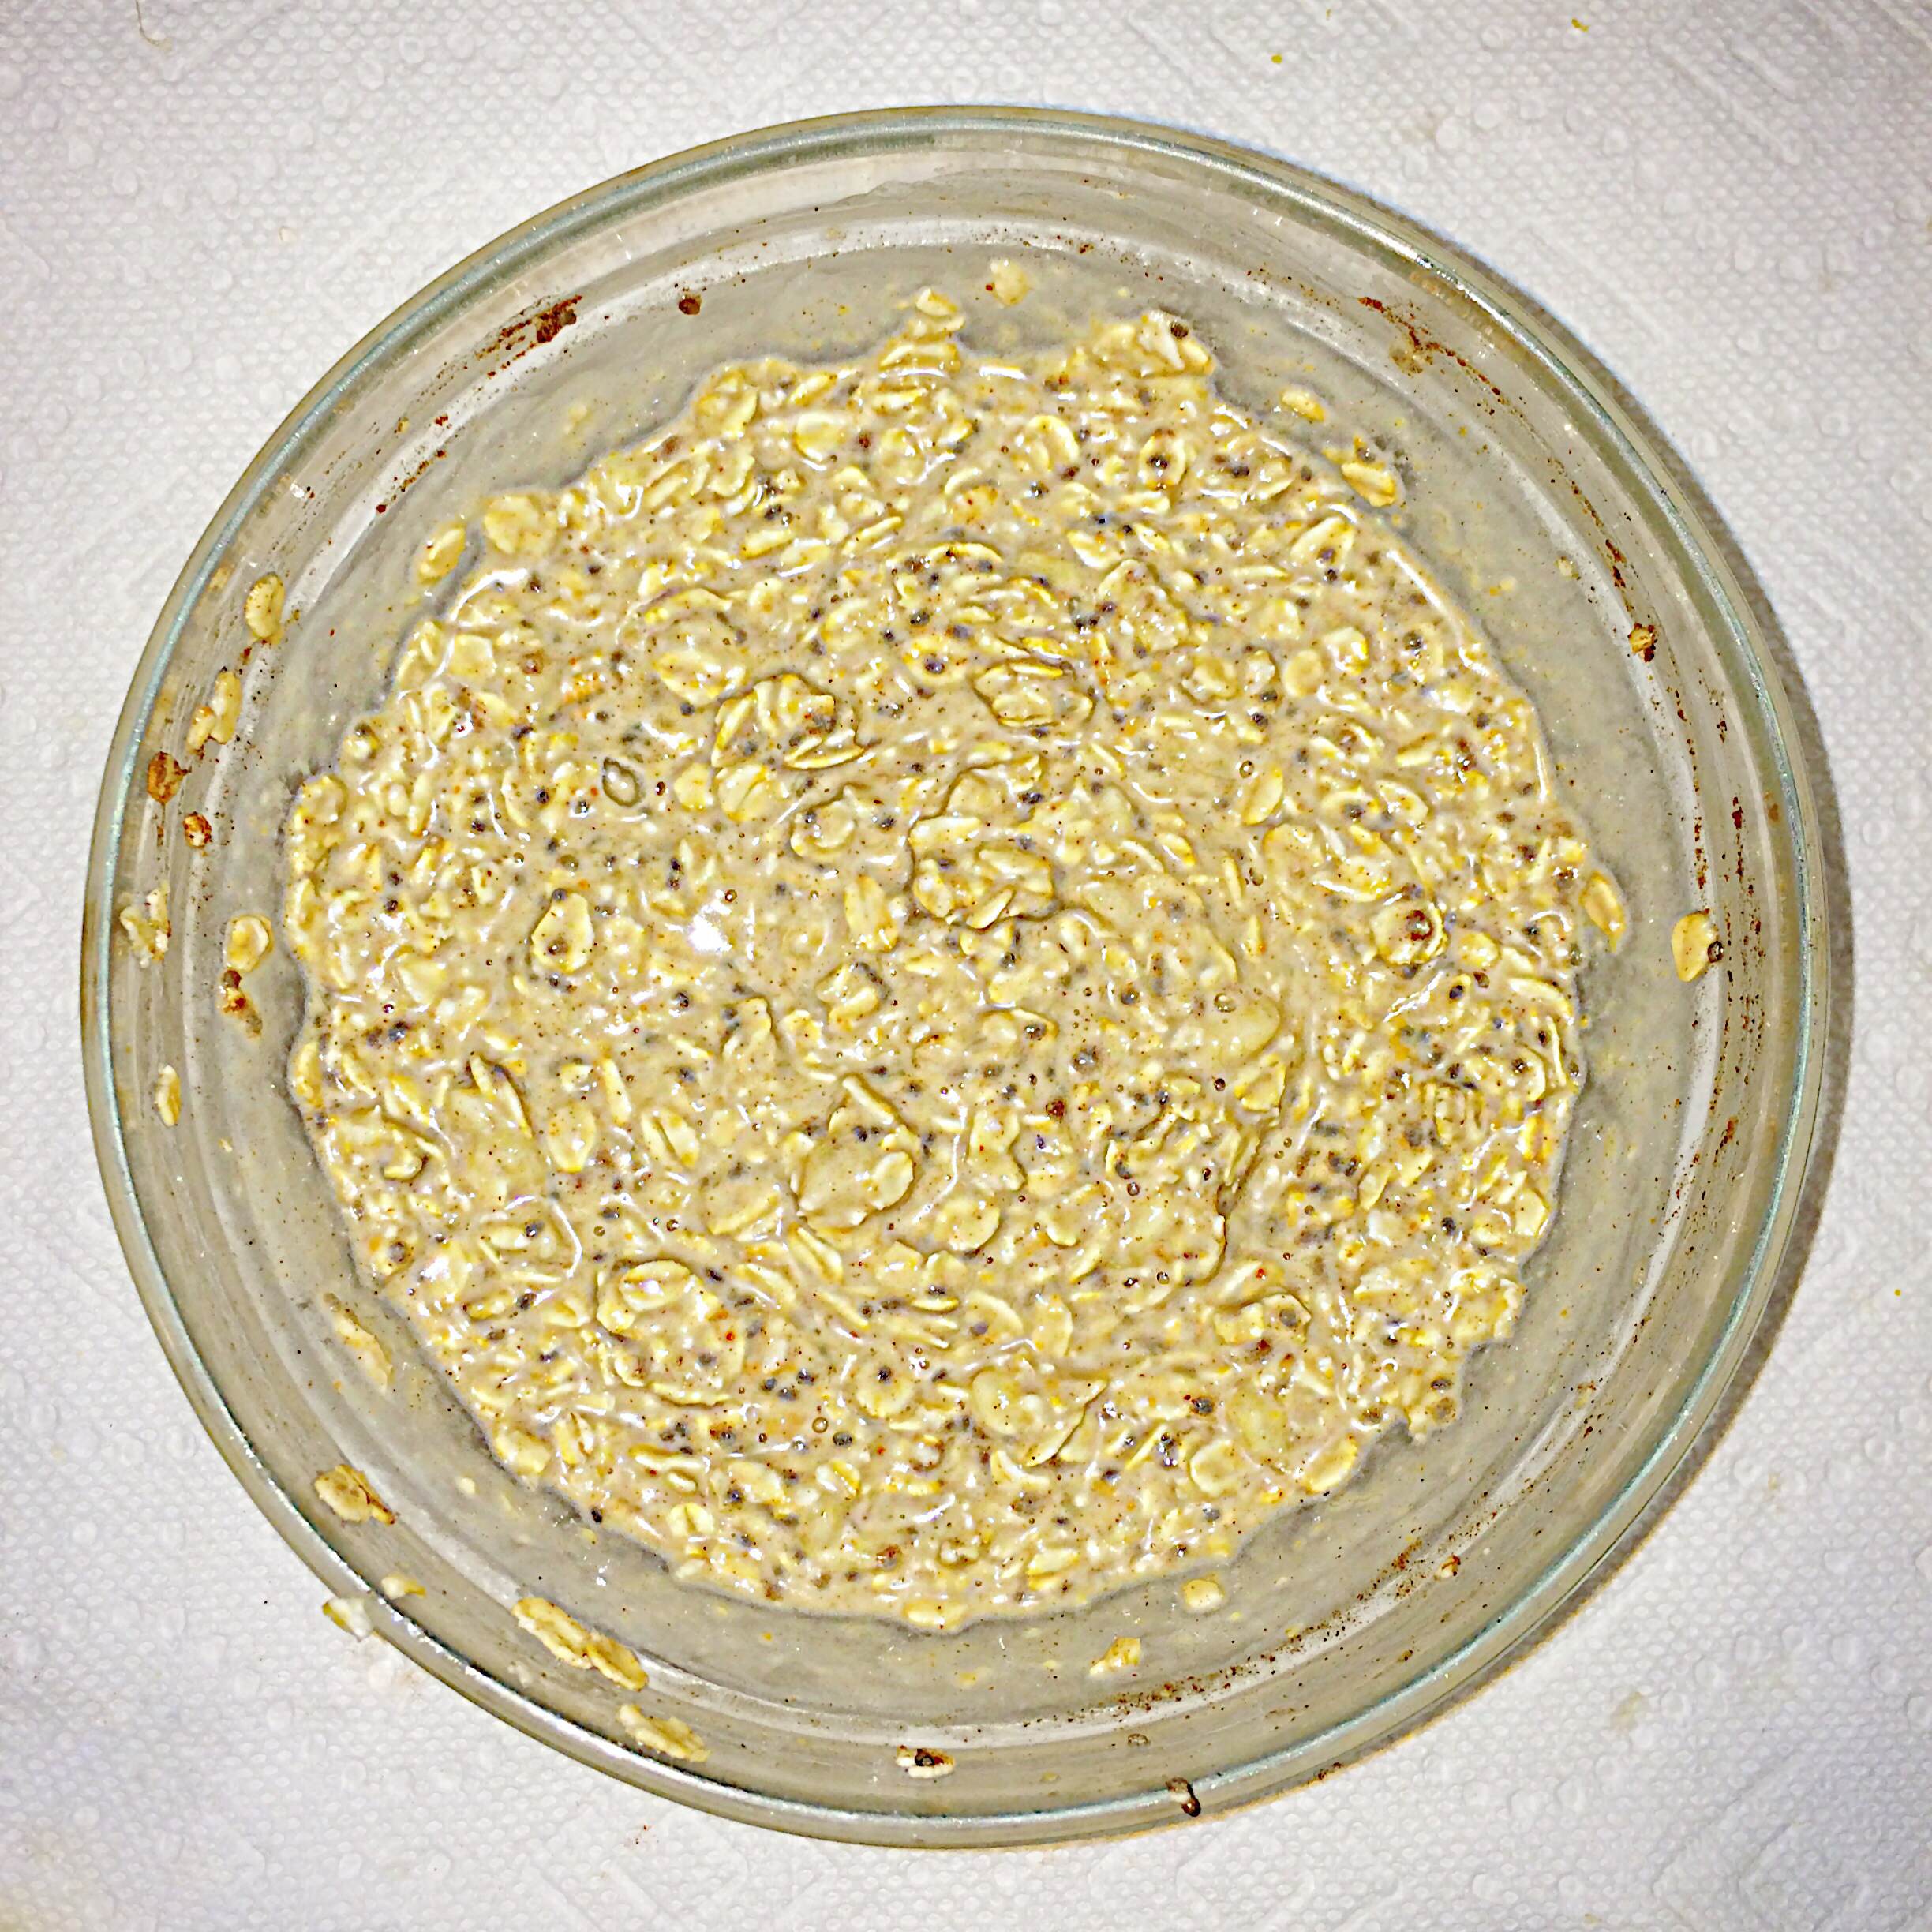
Stir all ingredients together until fully incorporated. Make sure the peanut butter is completely integrated!
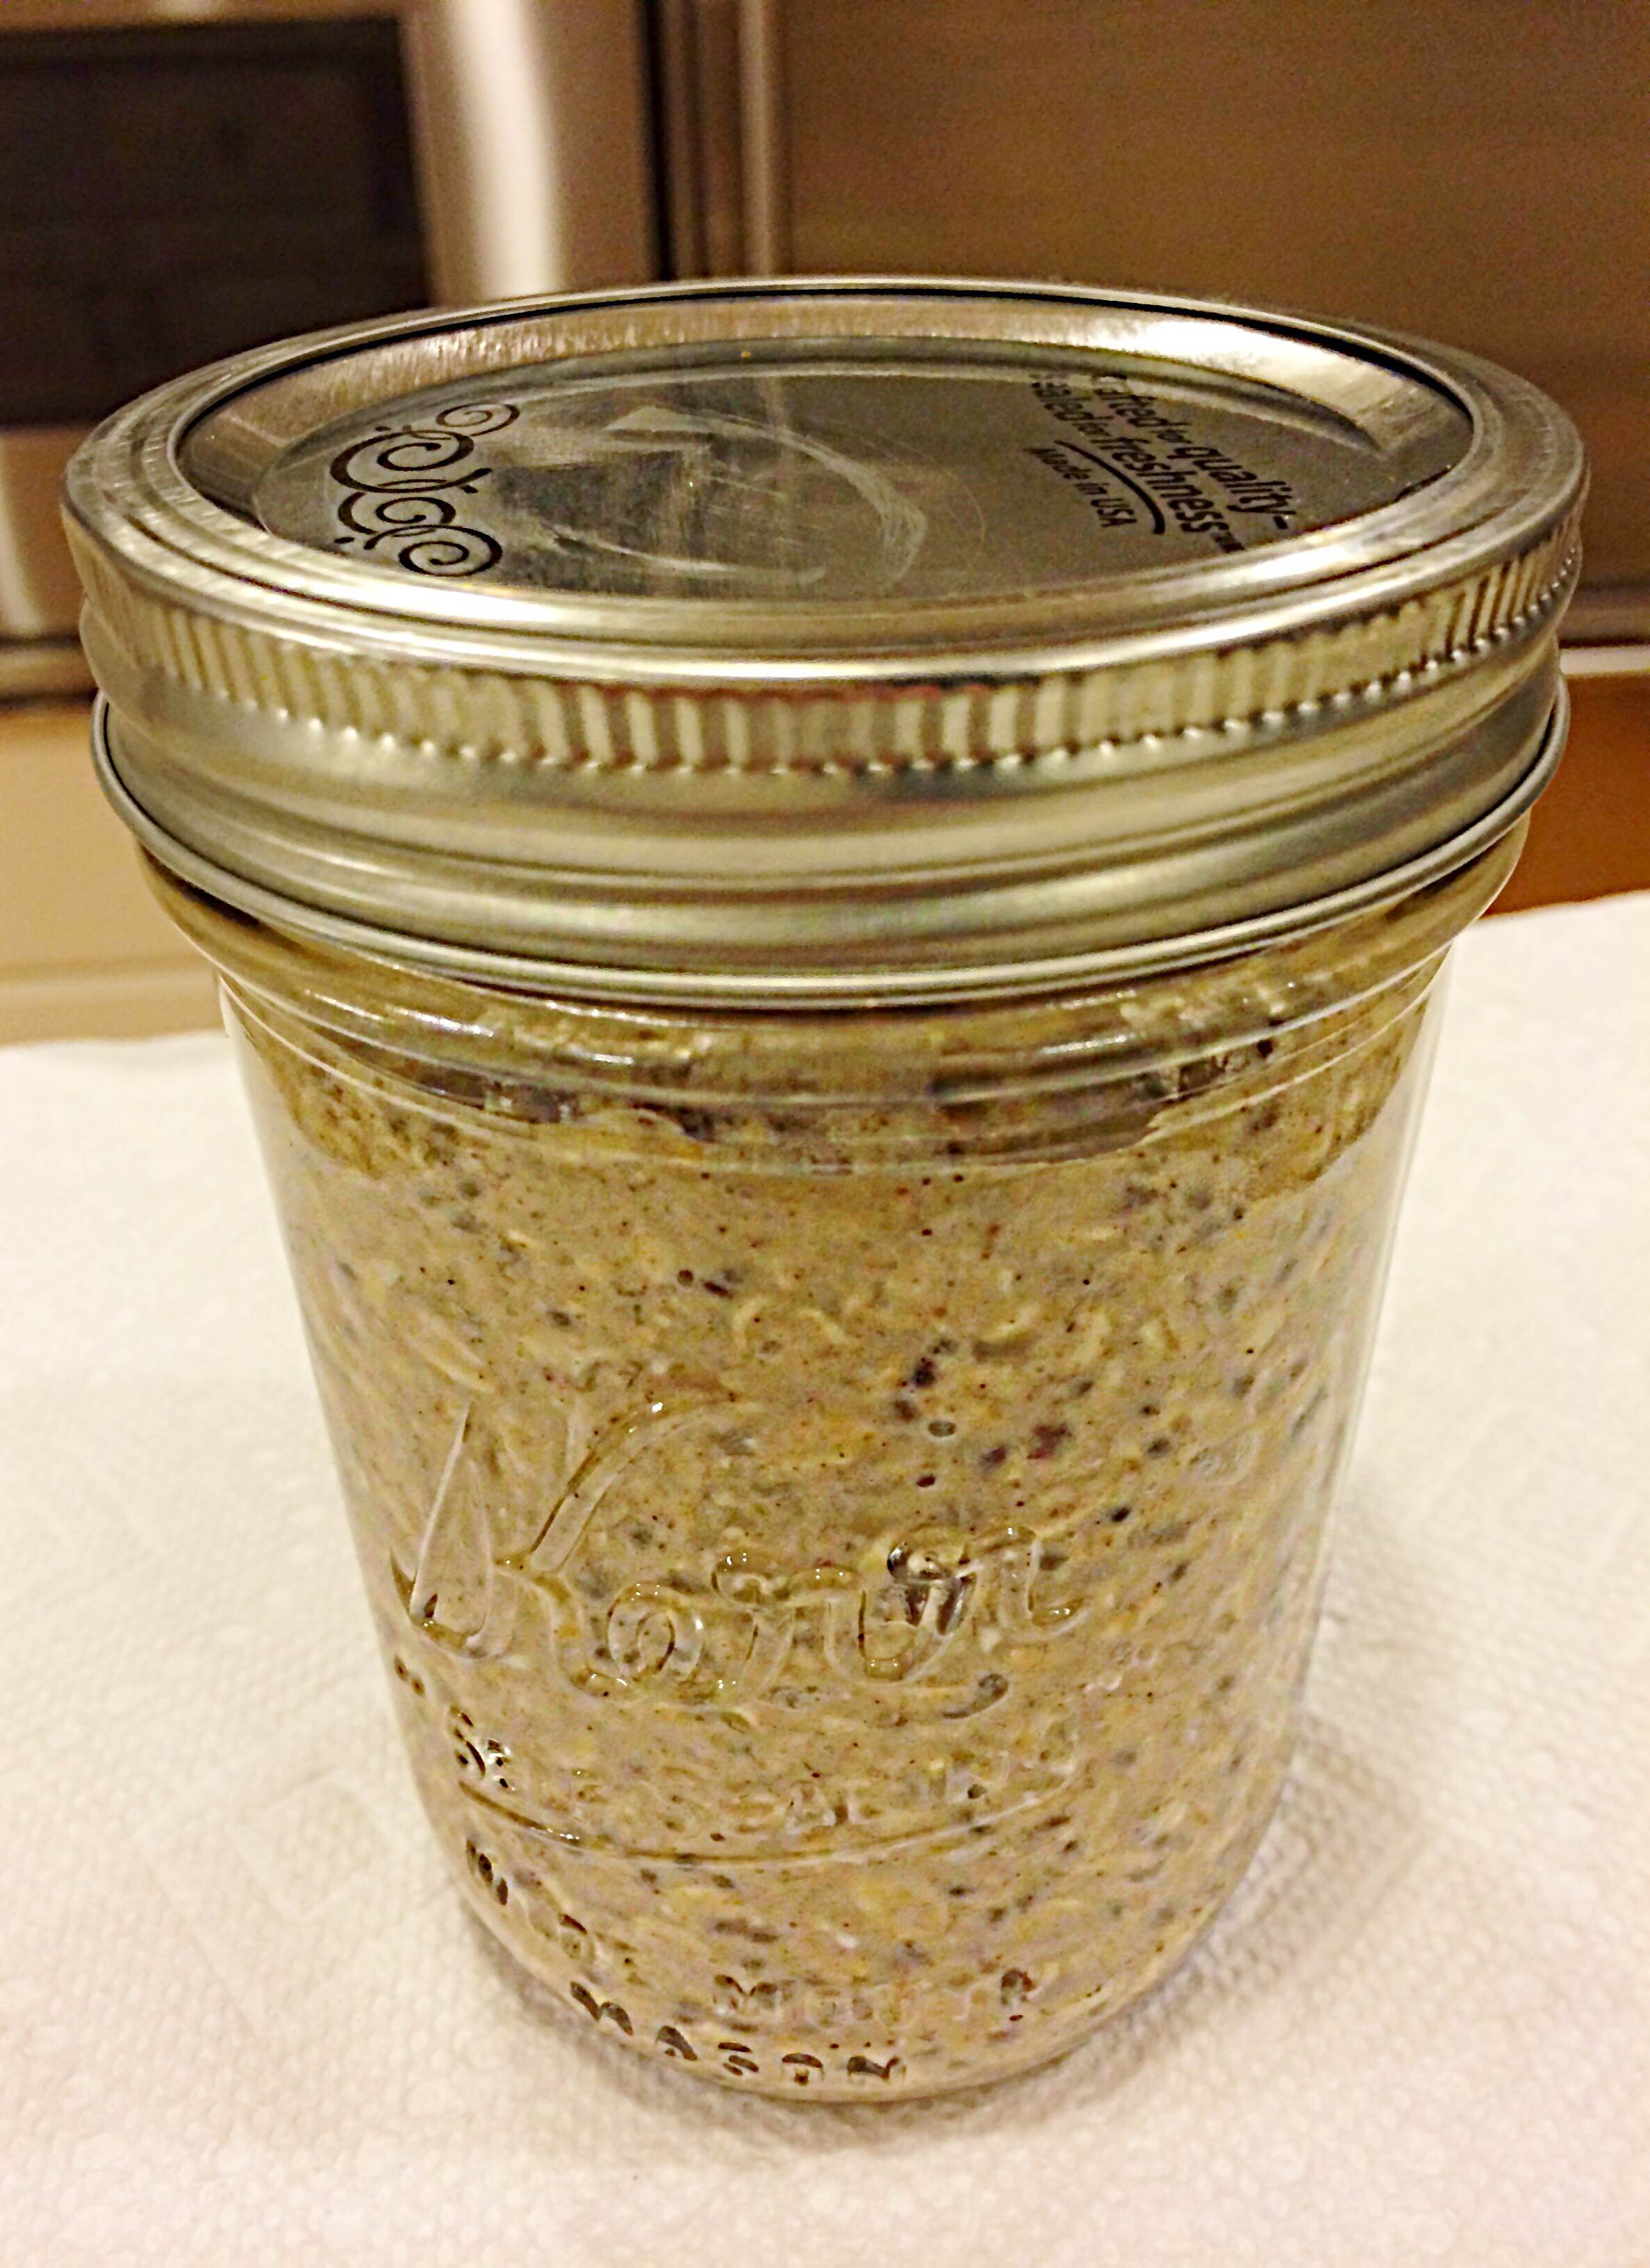
Store overnight in a glass air-tight jar in refrigerator
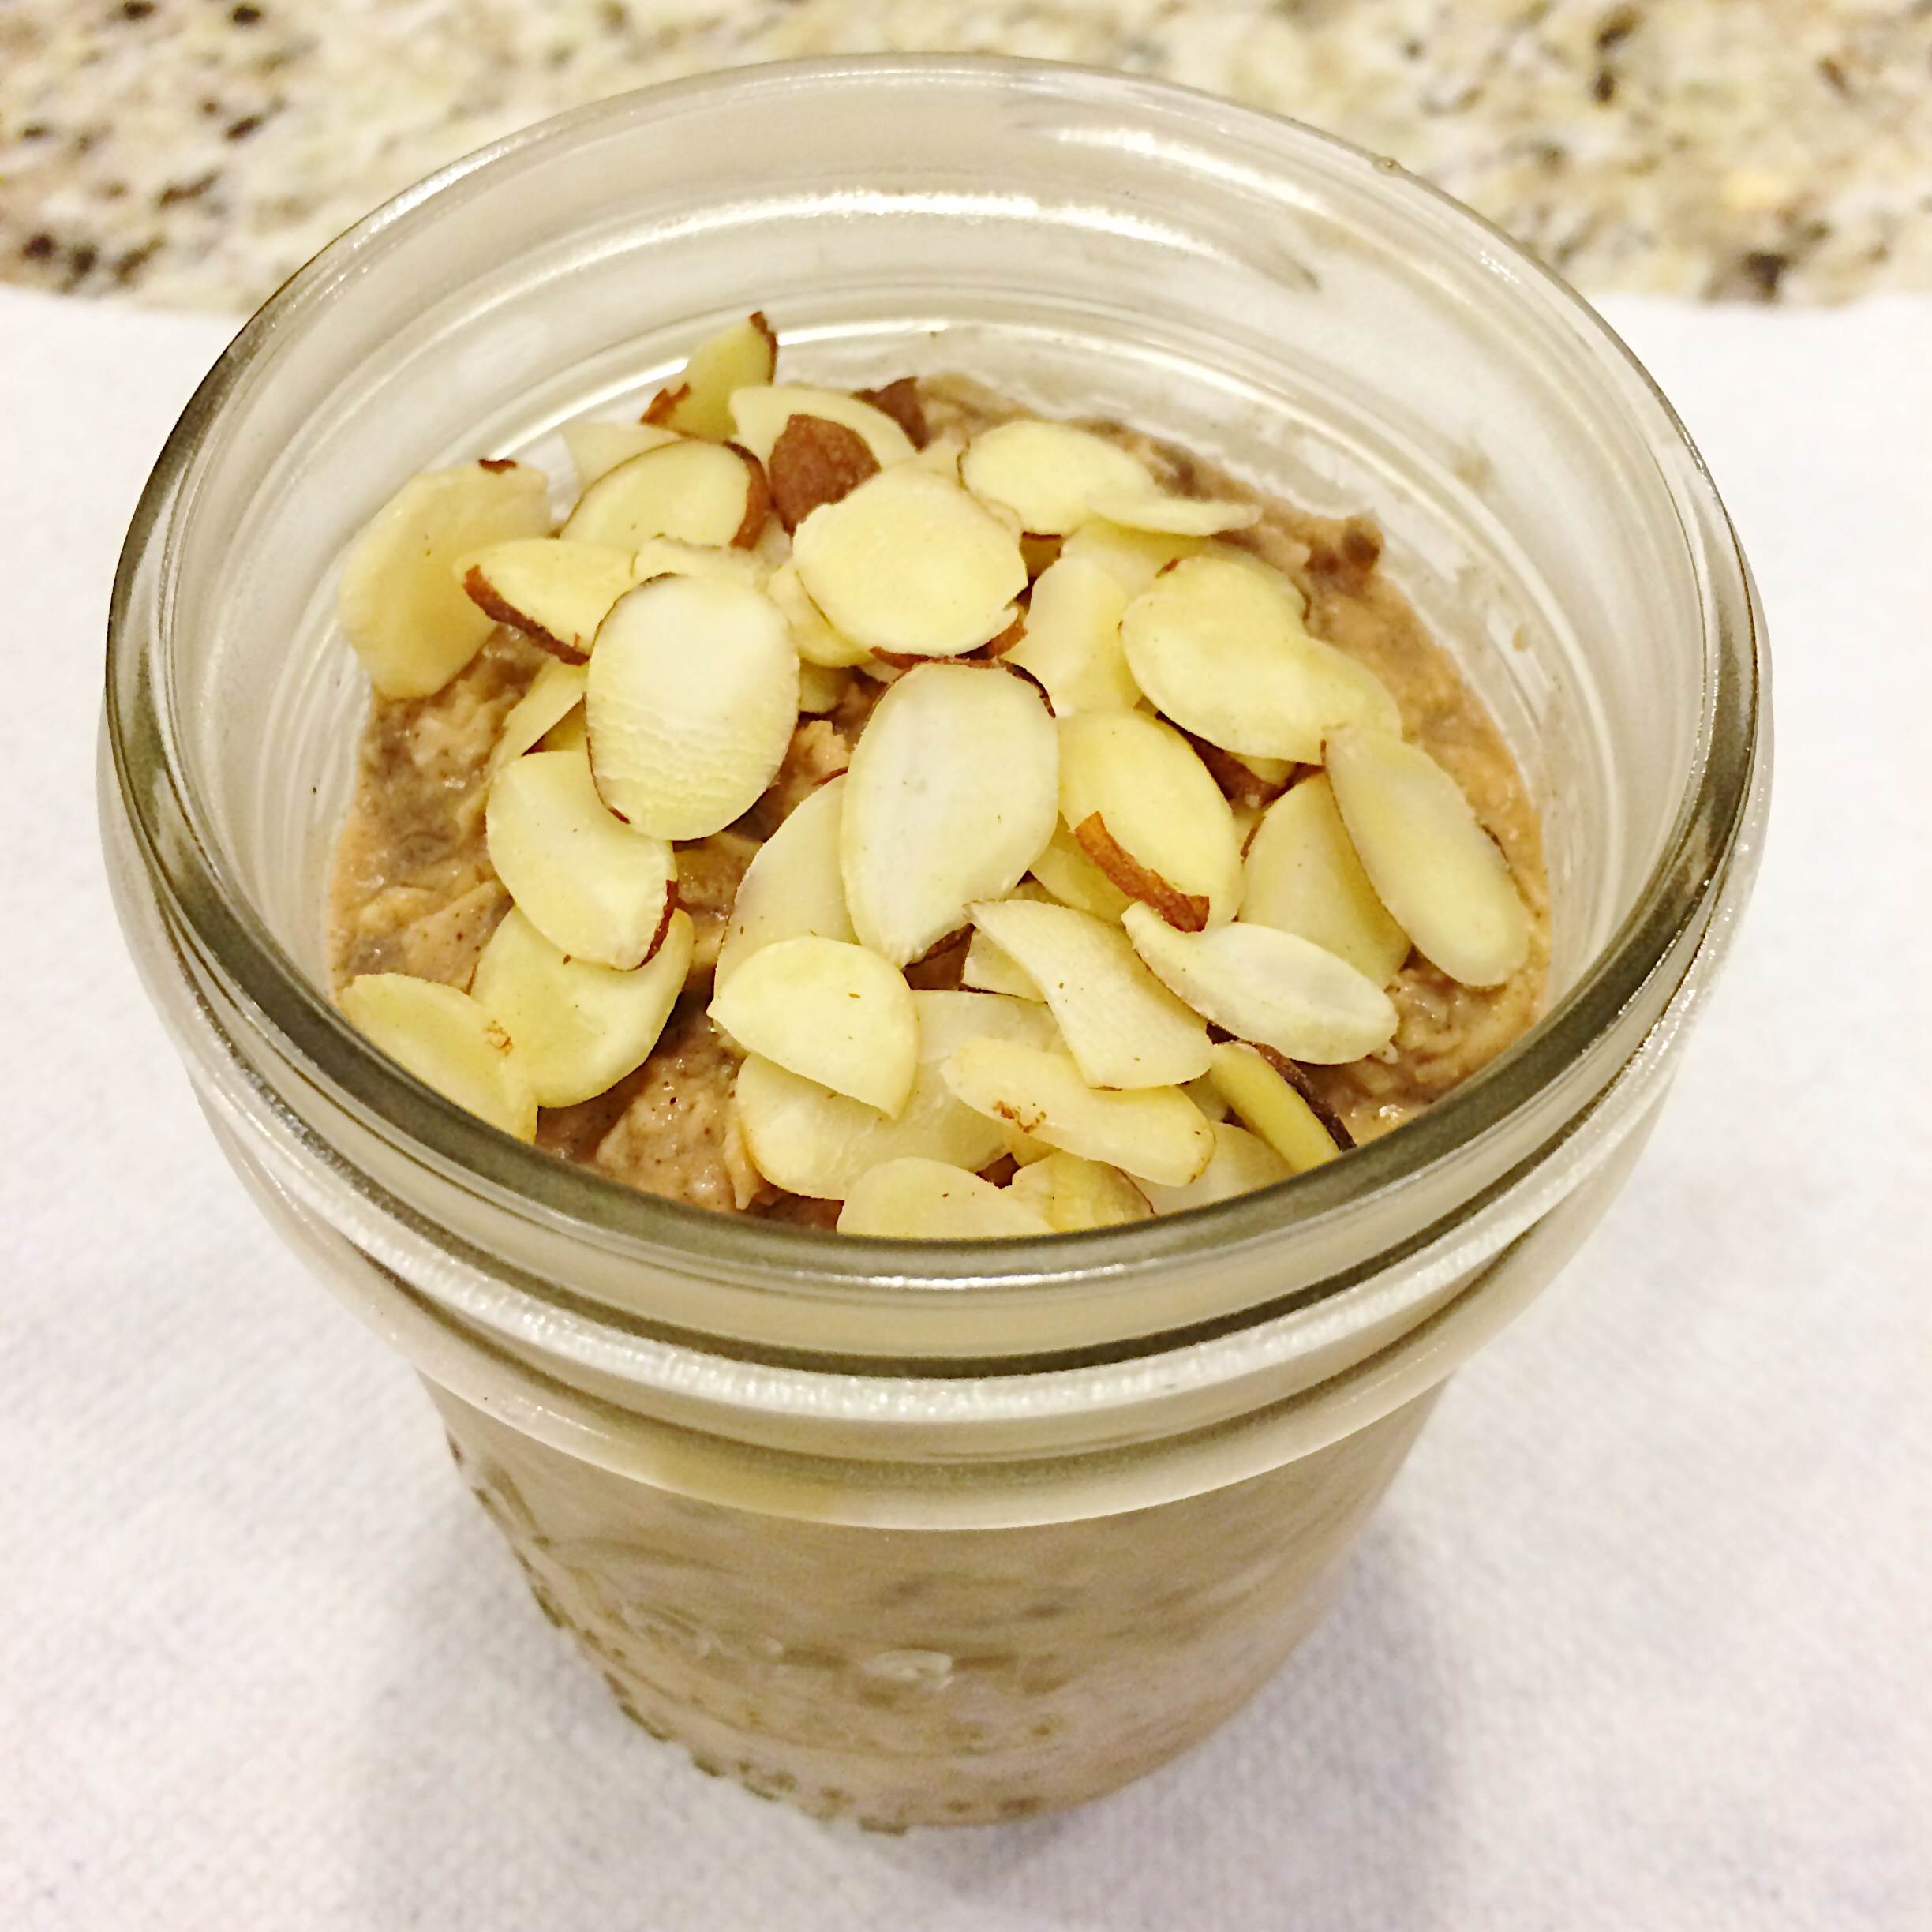
Top with sliced almonds in the morning and enjoy!