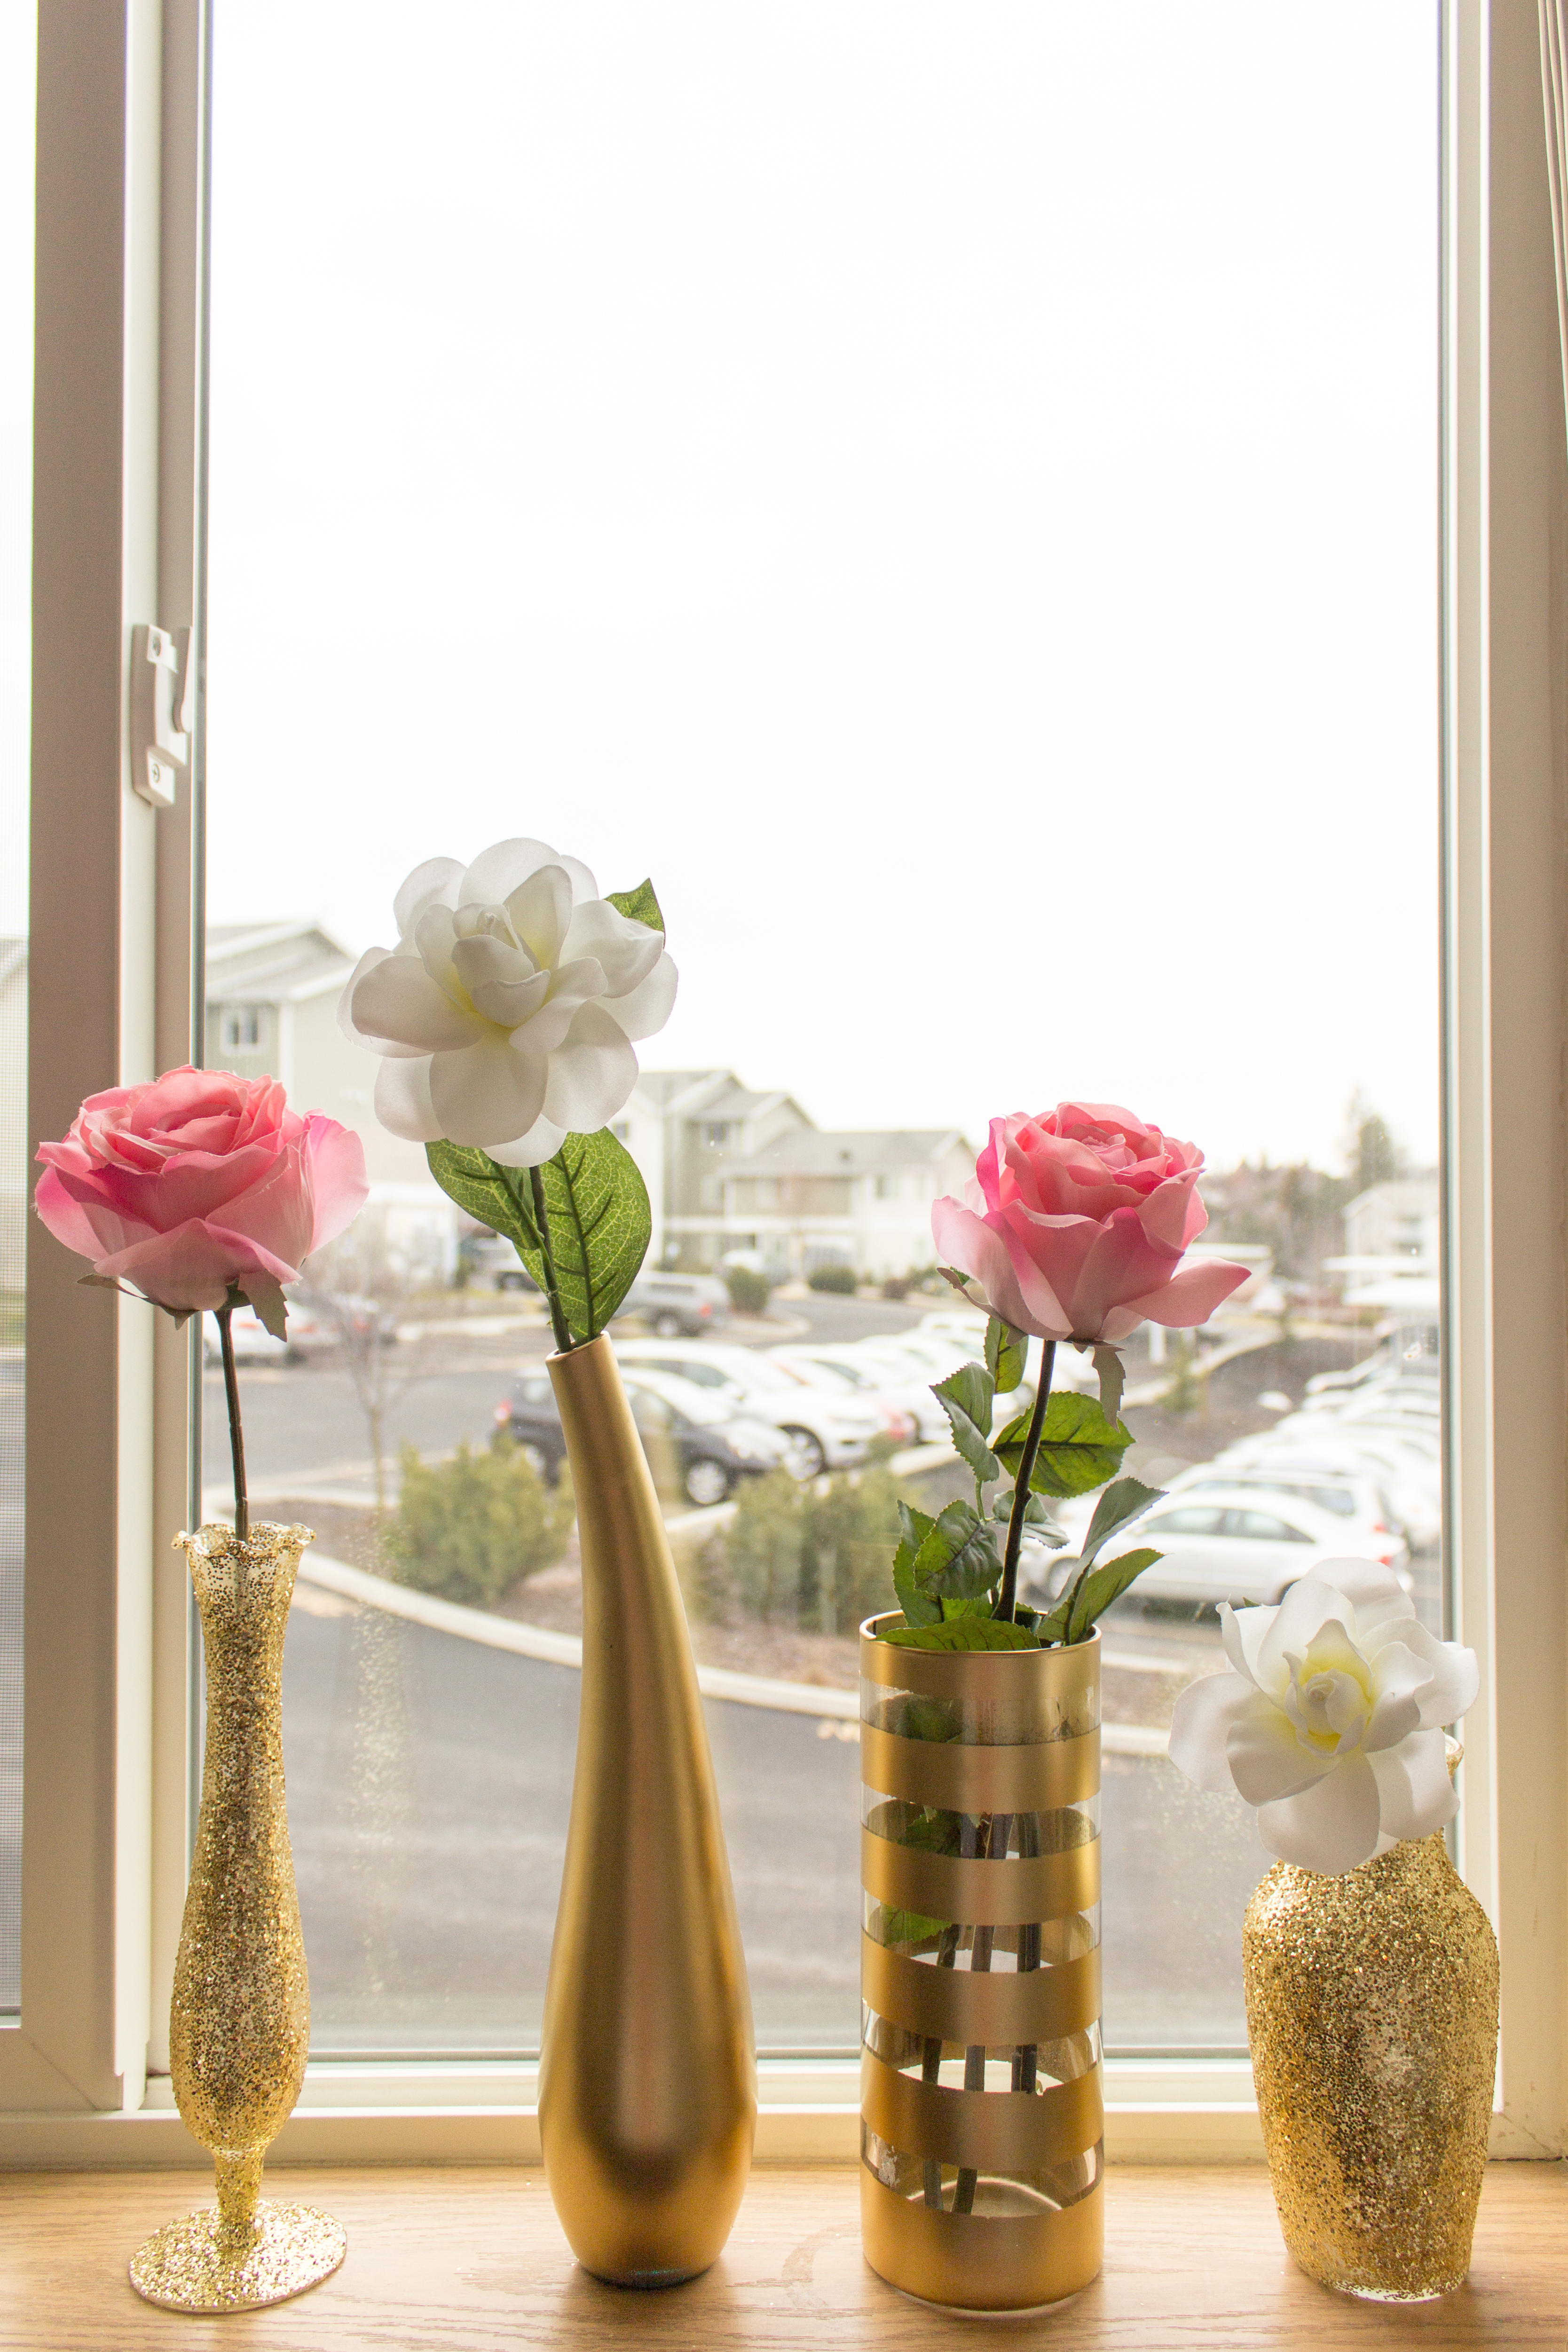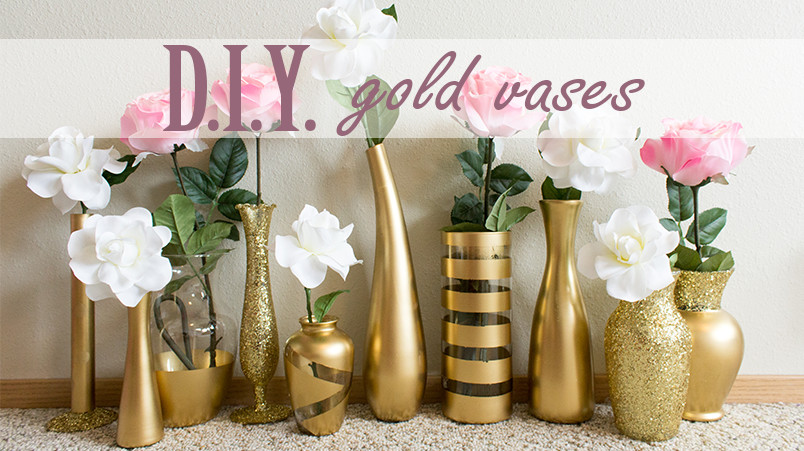
I’ve been playing around a lot lately with D.I.Y. crafts since I have my very own apartment now. I really wanted something pretty to brighten up my room, so I decided to line my windows with D.I.Y. gold vases of flowers.
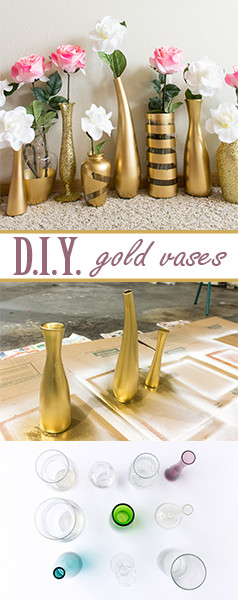
However, like most first-time apartment renters, I didn’t have much money to spare, so I had to get creative. Thanks to Value Village, I snagged some cheap vases, bought some gold spray paint and glitter, and got to work! I purchased all ten of these vases for just $15 at Value Village. After I bought the spray paint, washi tape, adhesive spray, Mod Podge, glitter, and flowers, I spent around $45 total. What a steal, right?
It’s so much fun transforming old, unused objects into something beautiful. There’s something very poetic about it.
 The first step in creating these beautiful decoration is washing out all of the vases and removing price tags or any stickers remaining on them. I recommend scrubbing the stickers off under warm water – it really helps get all of that icky residue off.
Next, plan out which vases you want to have which designs. I knew I wanted a few solid gold, a few patterned, a few completely covered in glitter, and a few half-and-half.
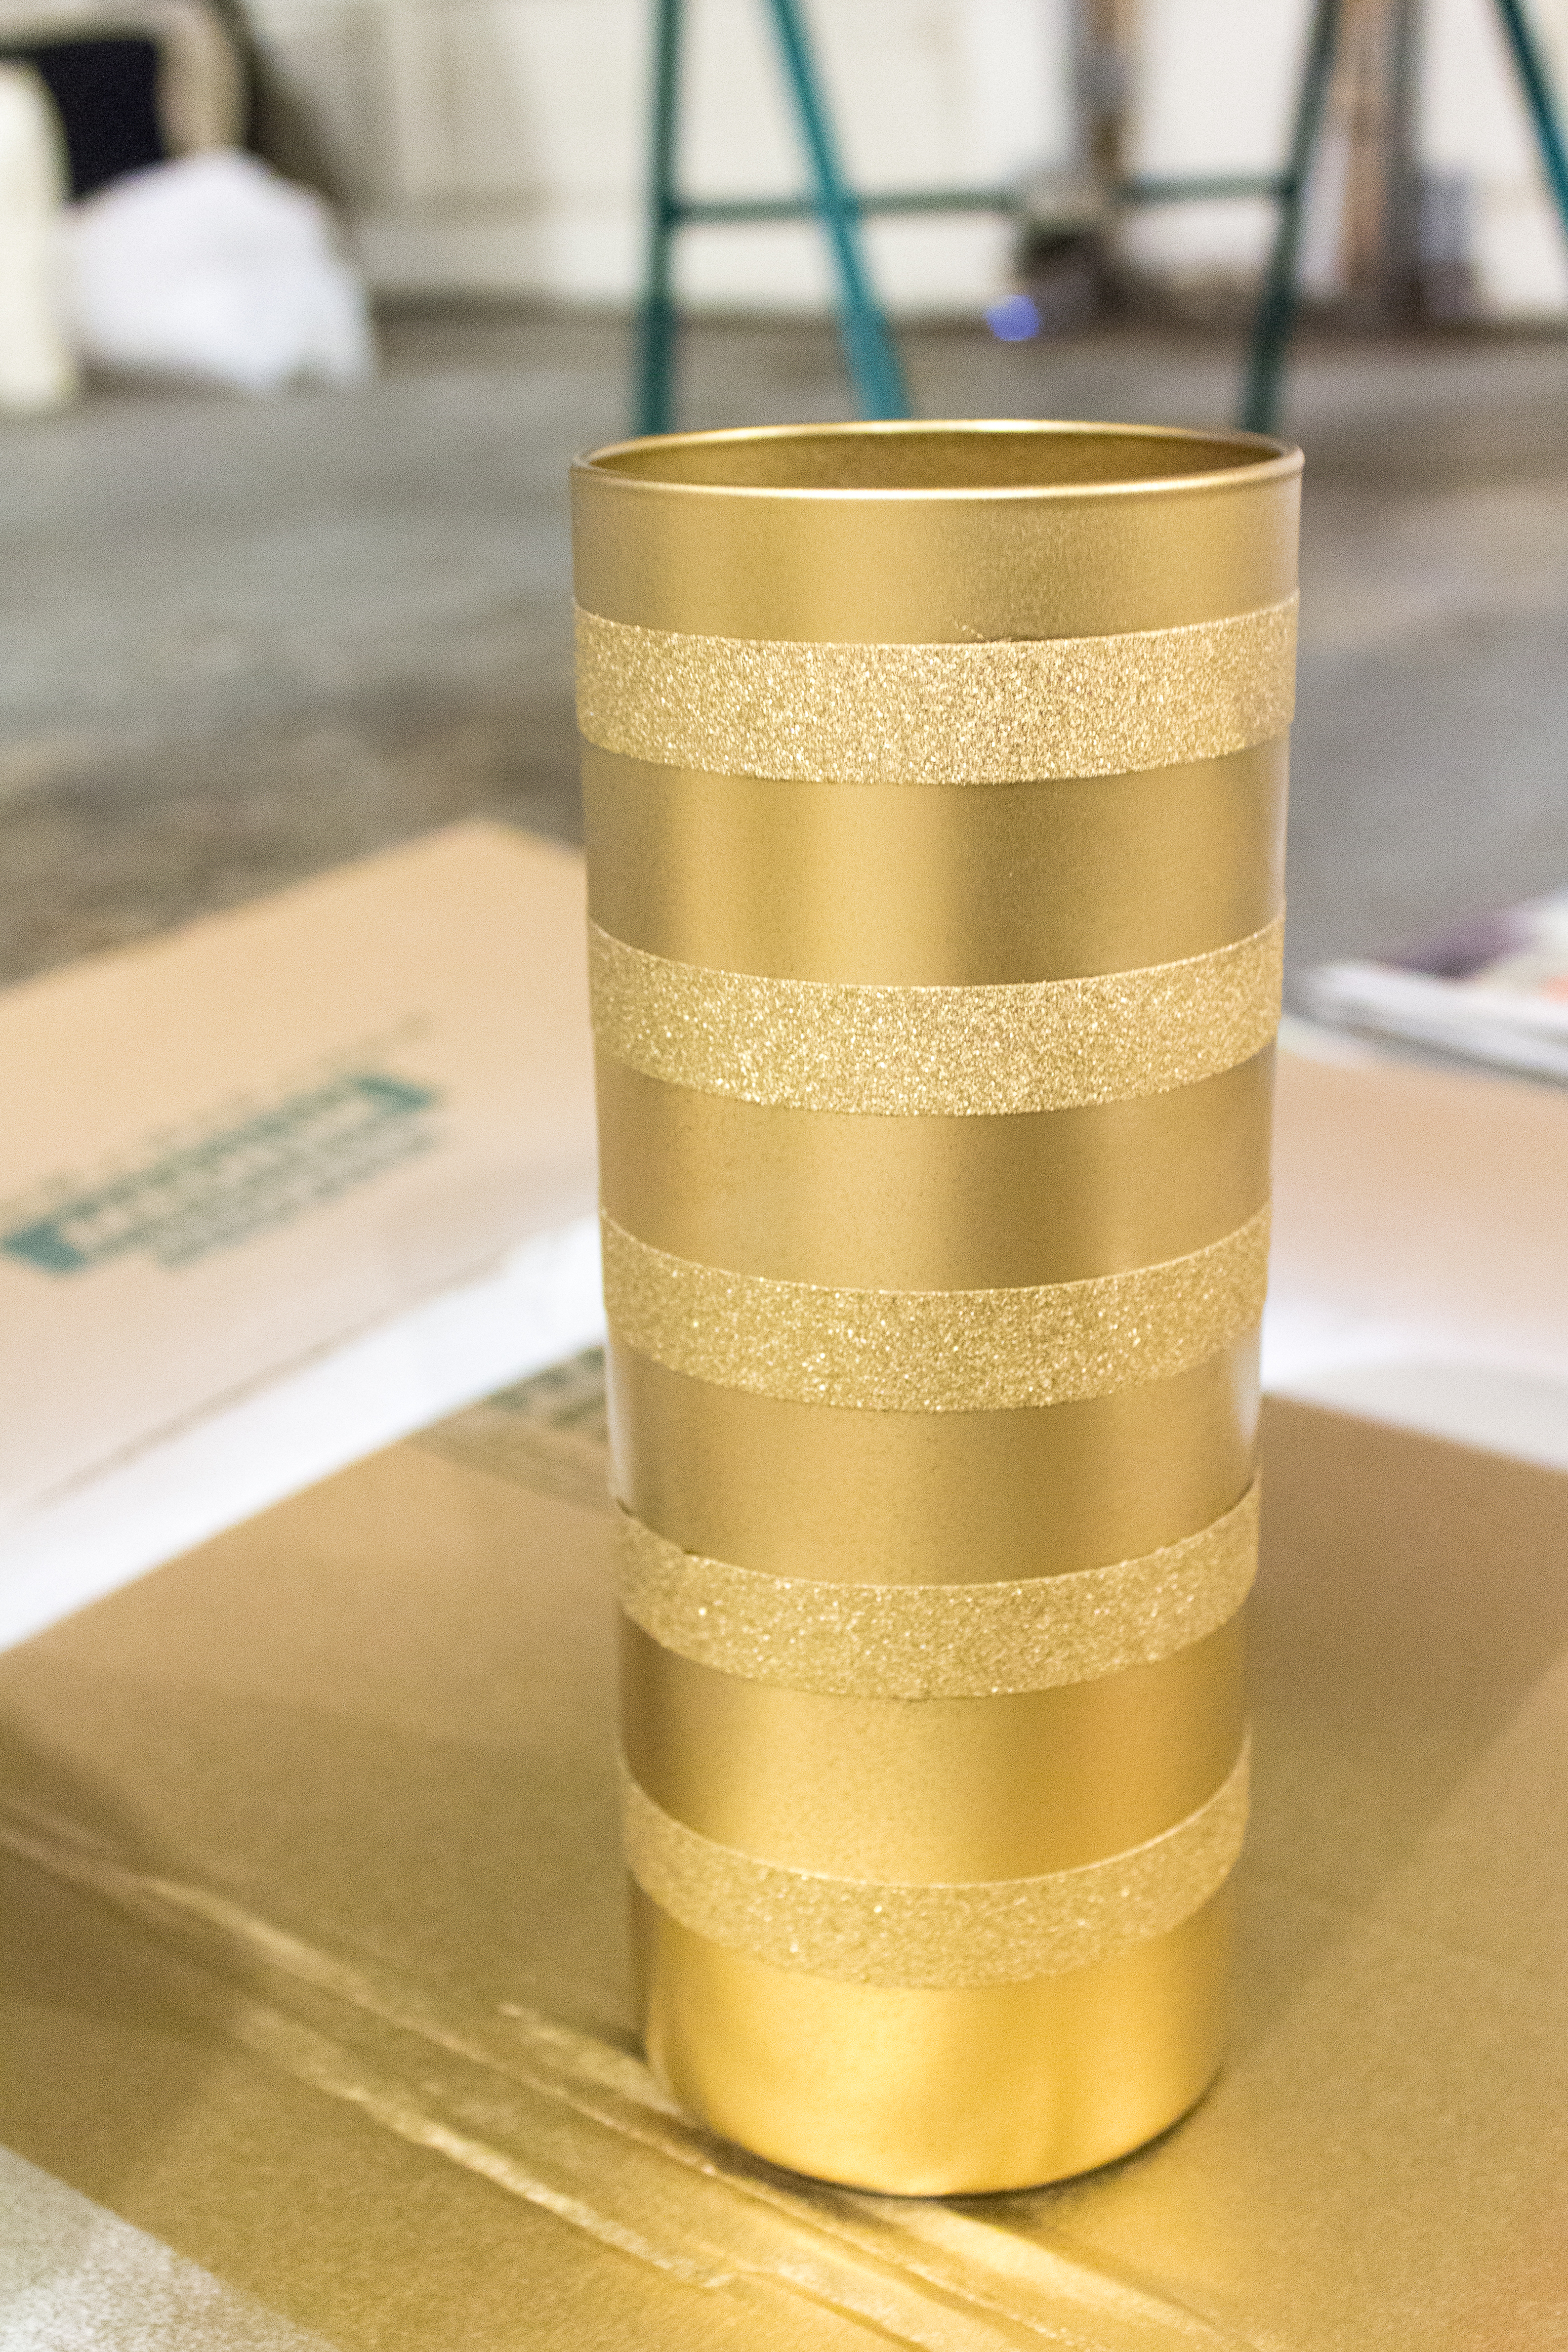
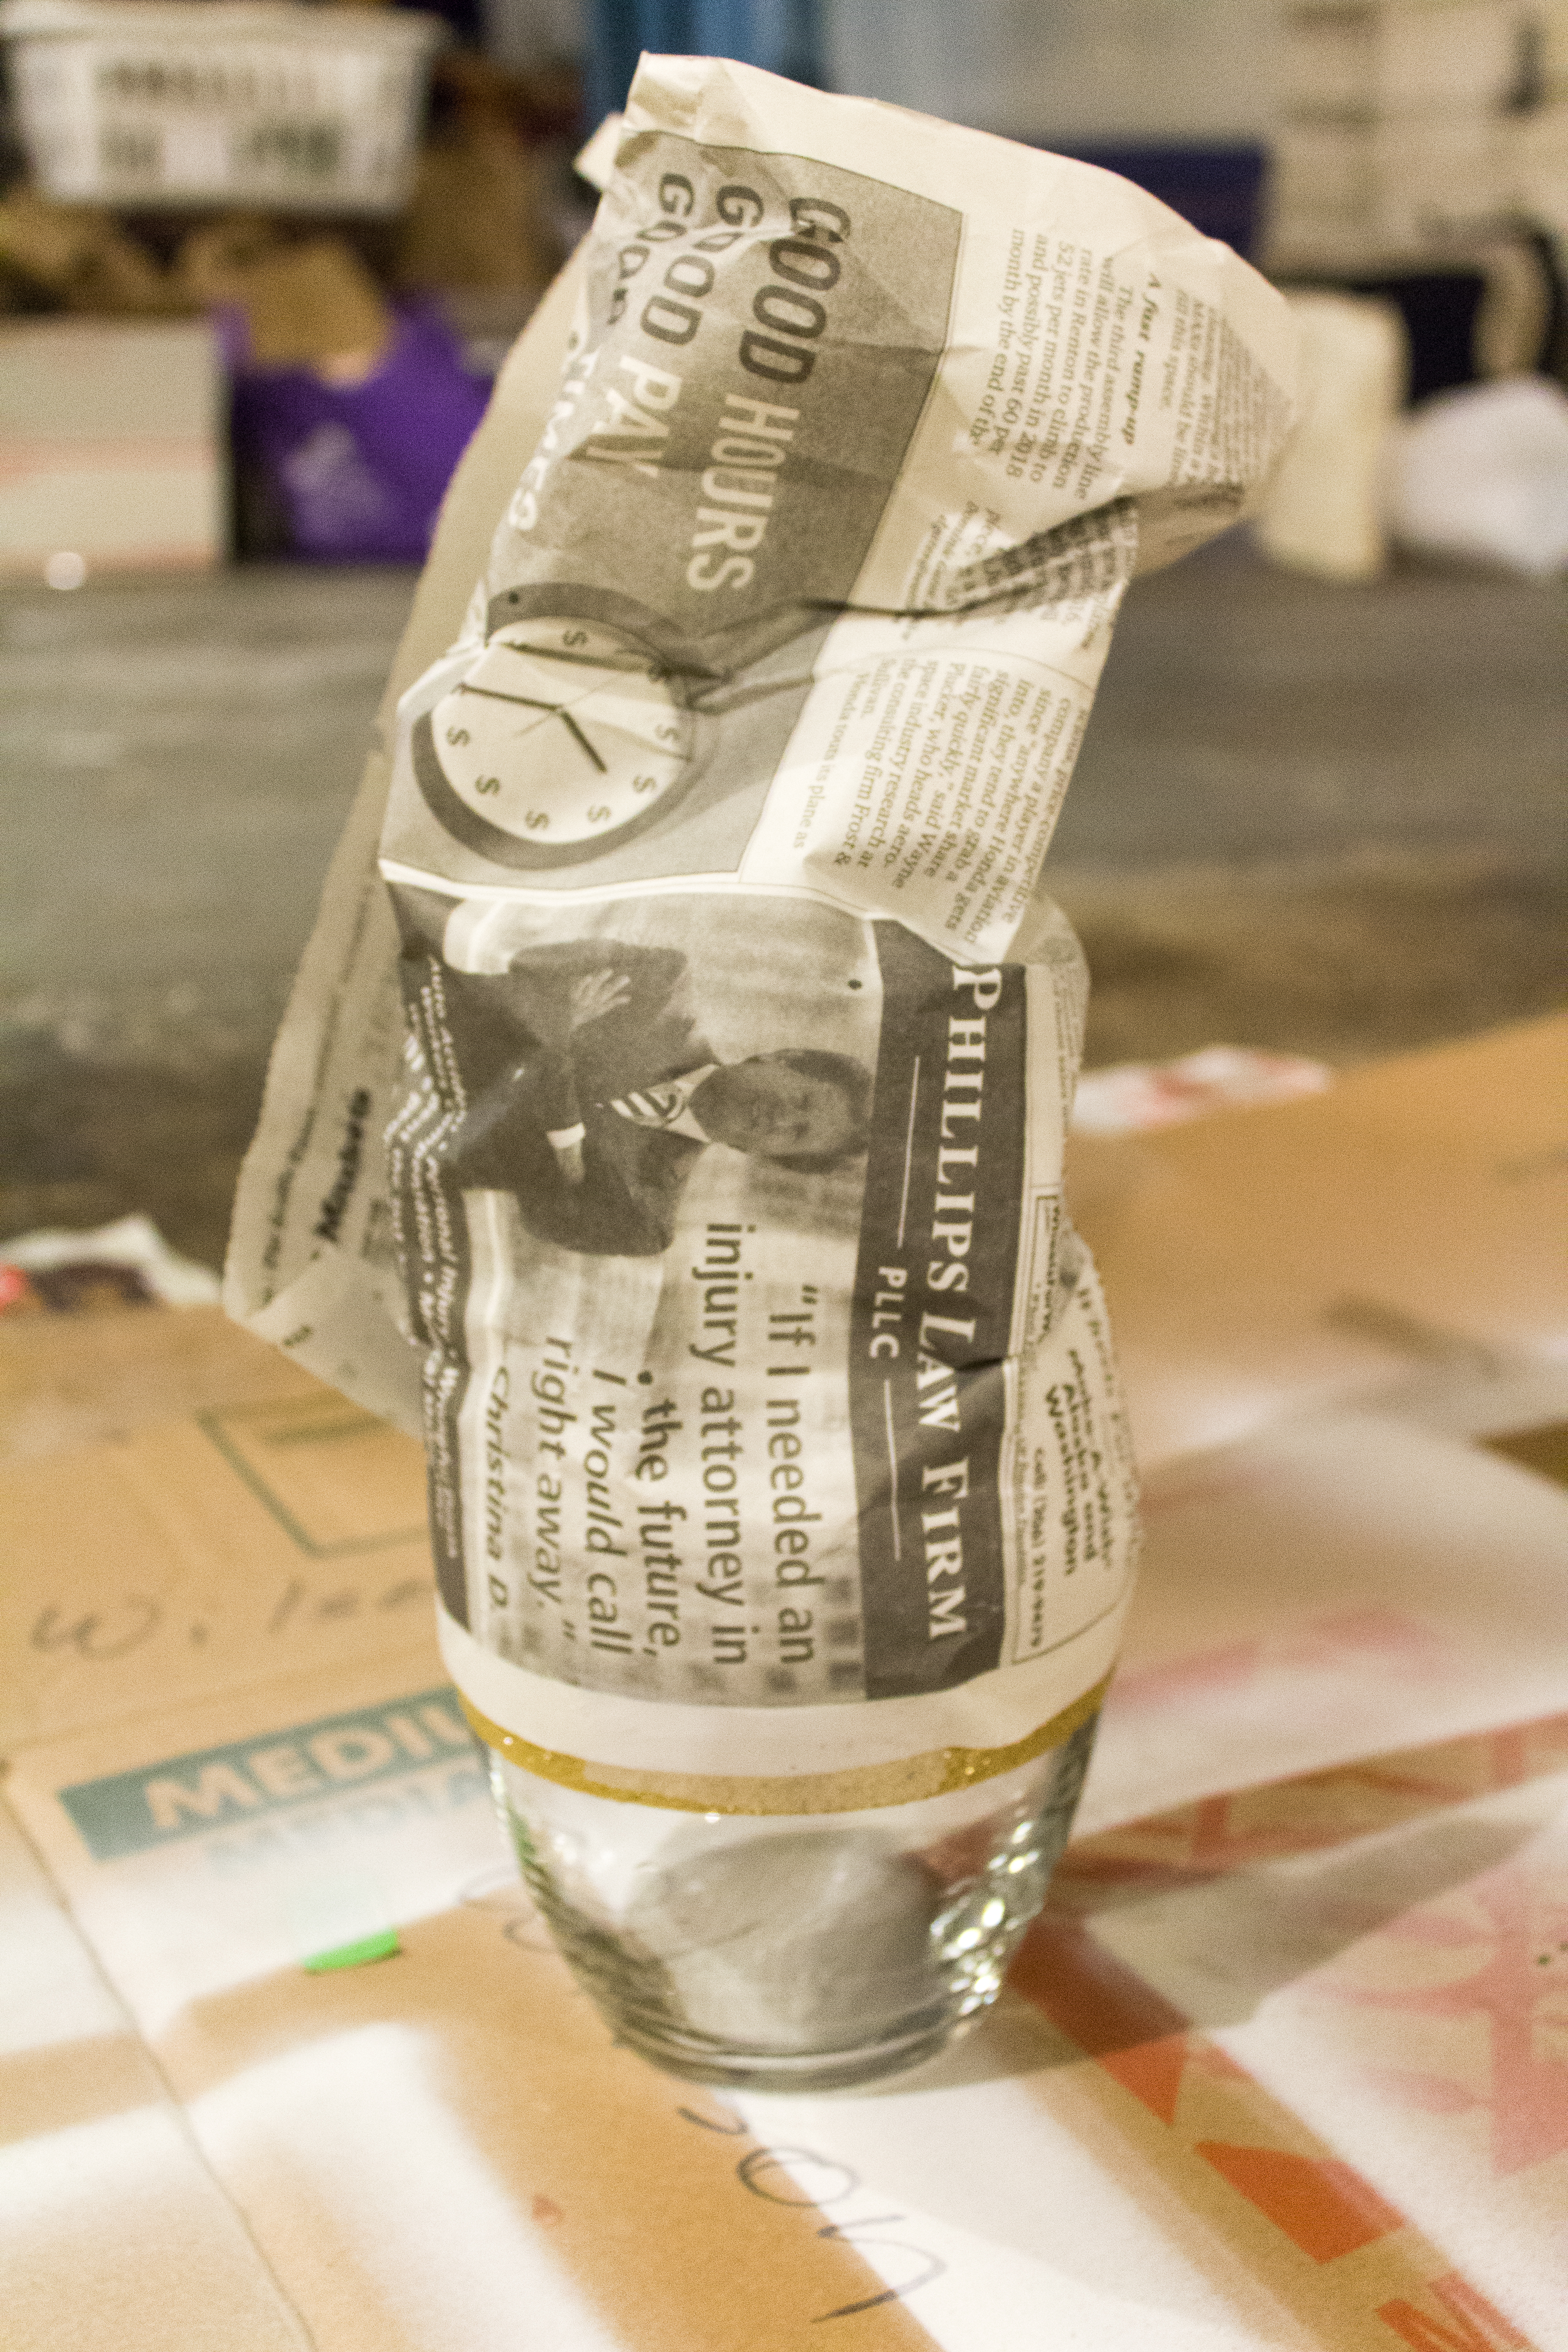
If you have any vases that you want partially spray painted, put washi/painter’s tape and/or newspaper over the areas you want free of paint. I would also recommend stuffing the vases with newspaper so that no paint gets on the inside of the vase. (I made the mistake of not doing that for my striped vase and there’s little flecks of paint on the clear parts! Ugh!)
 Once you’ve finished spray painting the first layer, set the vases aside carefully and wait two hours for them to dry. The spray paint canister will tell you to wait less than that, but I always like to be on the safe side.
Just a side note – be super careful when you’re working with your vases. I accidentally knocked one of them over and it shattered everywhere. Most of you probably aren’t huge klutzes like I am, but I just thought I’d warn you!
 While you’re waiting for those to dry, move onto the glitter vases. Cover the selected area with a thin layer of Mod Podge. Sprinkle glitter liberally over the area, wait a moment, and then shake off the excess. Work fast – the glue will dry quickly!
Set these aside and wait for them to dry as well. Add the second layer of spray paint to the vases when time has expired and set aside one last time to dry.
When the glitter vases are done, be sure to spray them with a clear adhesive spray. This will help the glitter from falling off.
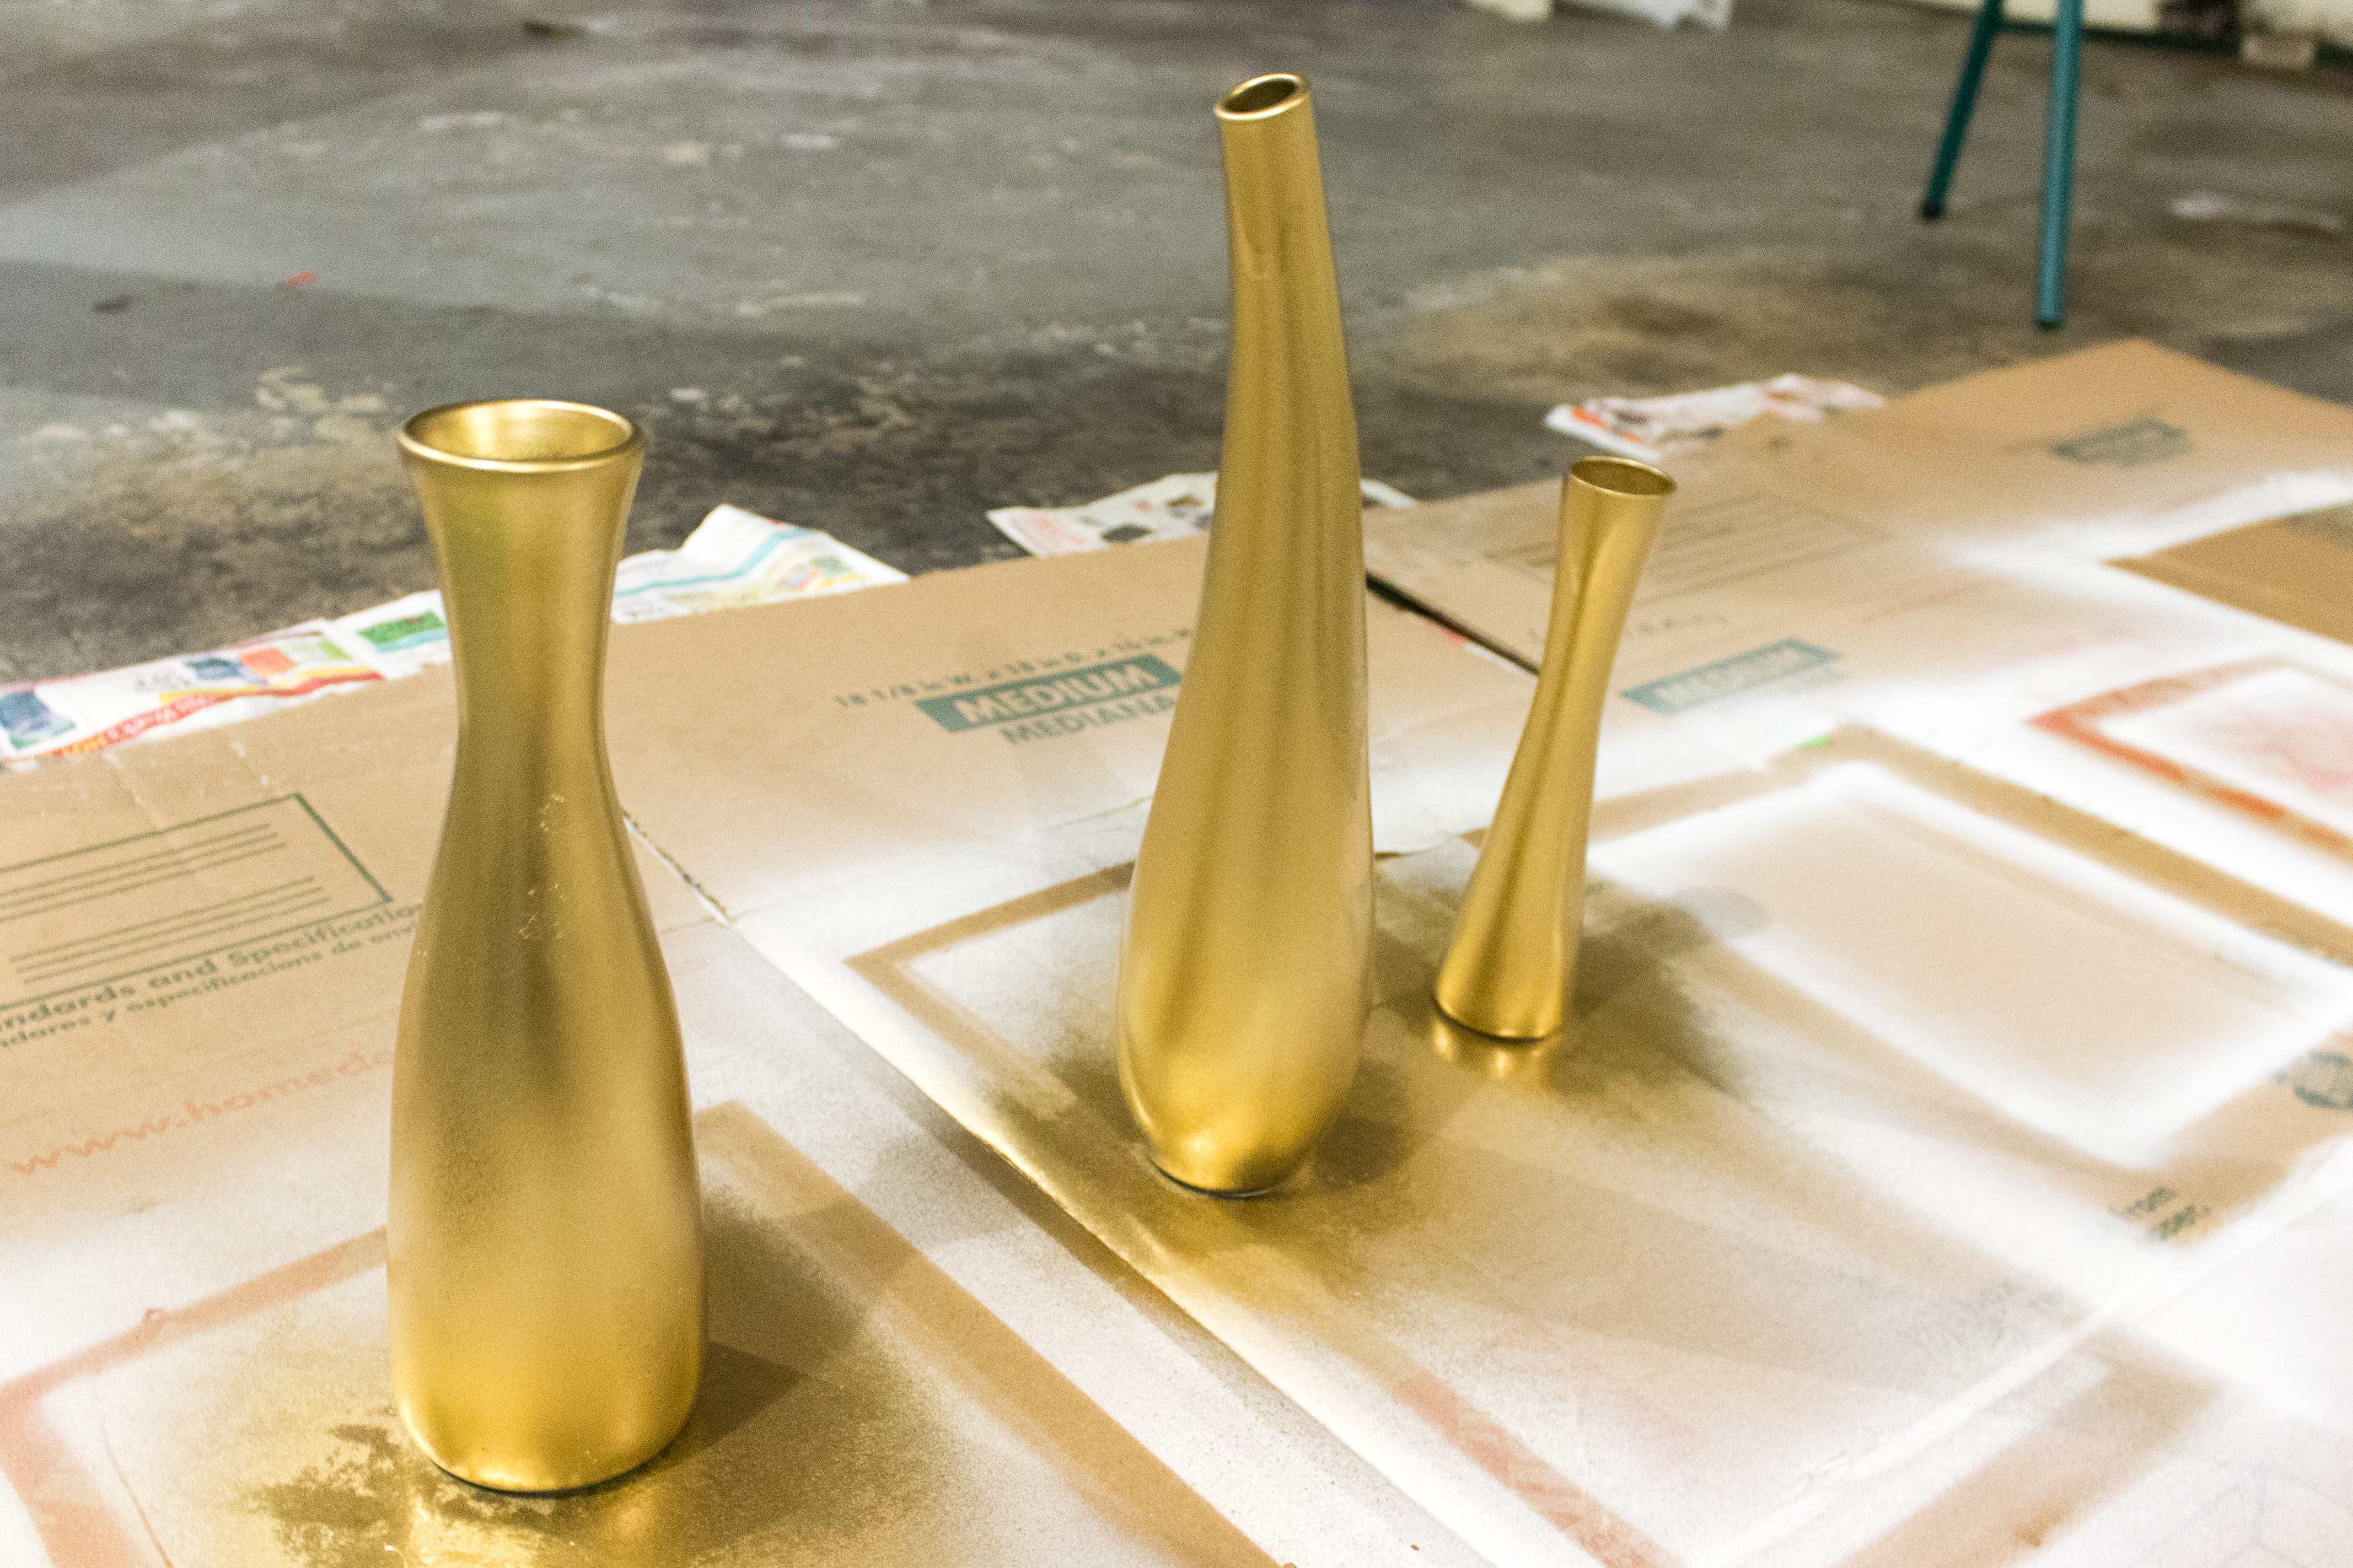
 Wait for everything to dry thoroughly and ta-da! You have ten absolutely gorgeous vases ready to be beautified by some pretty flowers!
If you’re a first-time apartment renter or a fellow broke adult, how have you been creative with decorating your space? I’d love to hear your frugal tips and tricks!